Introduction
When we started out podcasting, I didn’t know what I was doing. I found tutorials like the one below exceptionally helpful. So after 200 and something episodes I thought I’d jot down what I’ve learned. When we started podcasting we made an audio only podcast - which in hindsight was so much simpler to produce - now it’s a video and audio podcast which adds some complexity.
Below is how we edit the podcast, I’ll hopefully post a “how we record” guide later. But for now let me explain how we record in the briefest of terms. We record video to an SSD in Pro Res 442 with a scratch audio track (which we use for audio syncing later). We record audio from our mics, via an Apogee Quartet into Logic Pro X on a Mac. After we’re done recording we have an audio file and a video file. This is what we do with them.
It All Starts in Logic Pro X

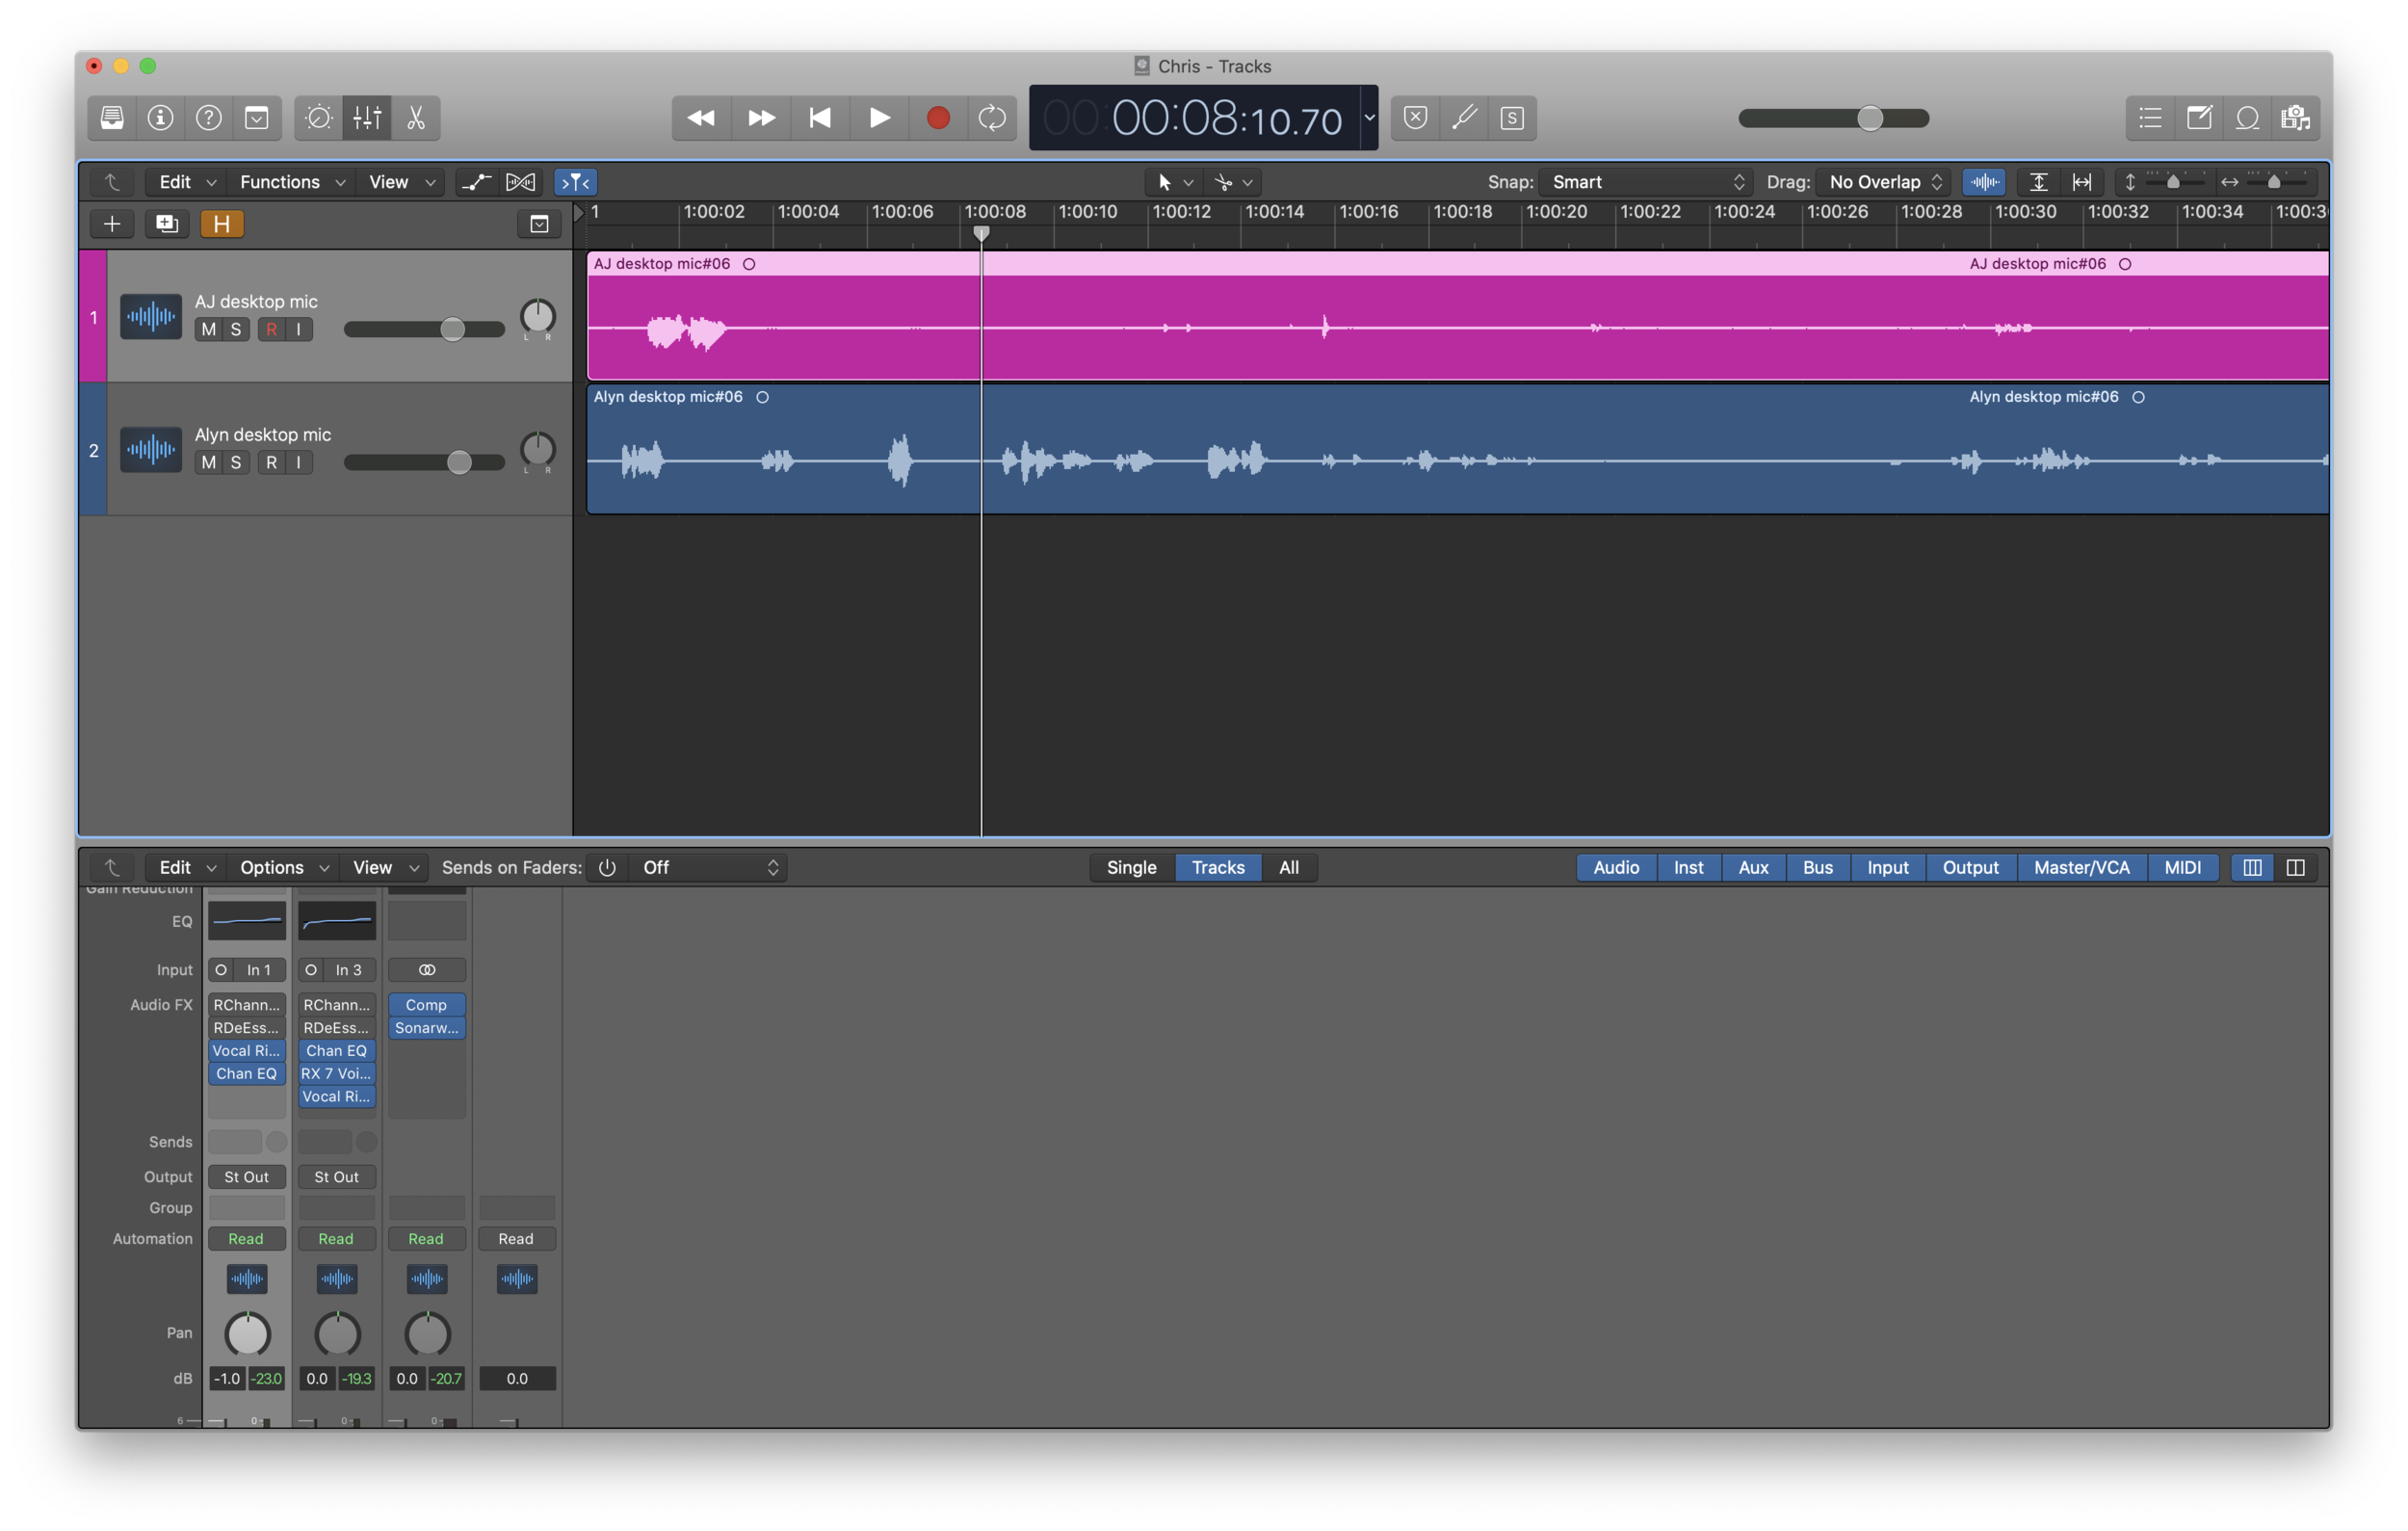
I start by editing the audio in Logic Pro X. At this point I am not editing for content. I am just making the audio sound a little better and cutting out obvious cruft. I add a little EQ to each of the audio channels, some light compression and use RX 7 to fix an electrical buzz on my channel that I’ve been too lazy to track down the source of in the studio. I also use Waves Vocal Rider to keep AJ and I around the same level of audio. Obviously I set our recording levels before we record but depending on what sort of mood we are in when we record sometimes one of us is louder than the other.
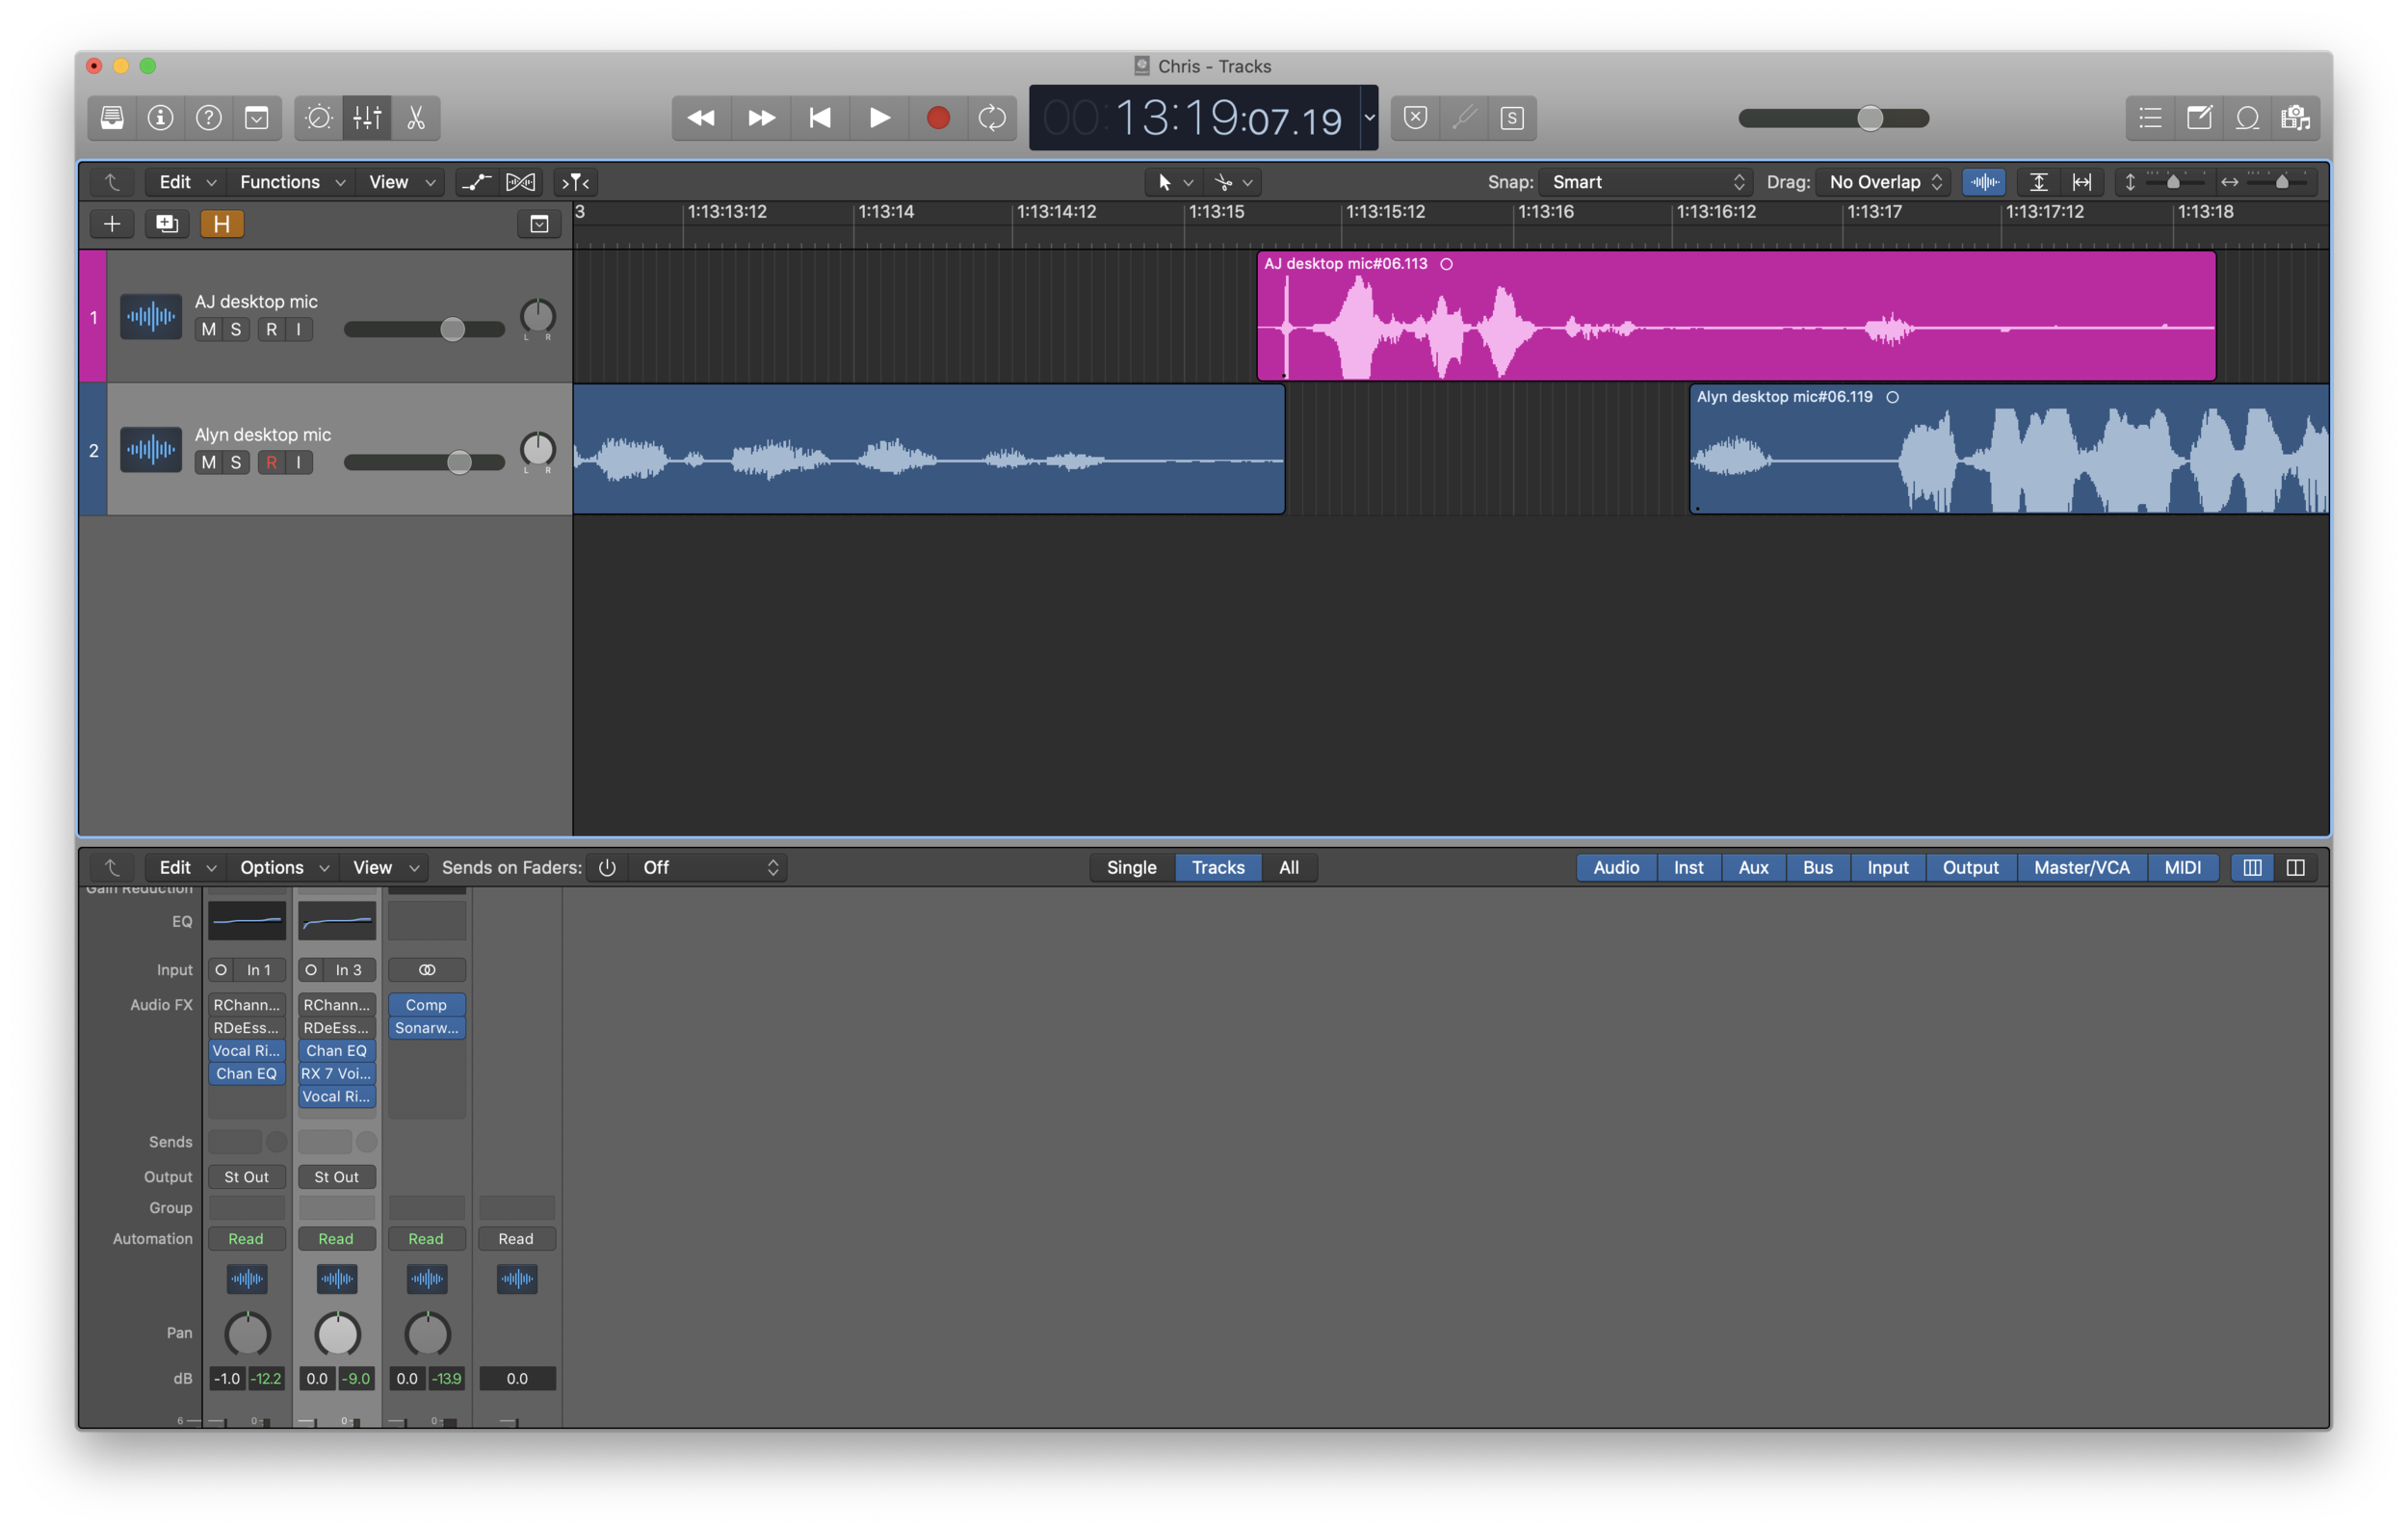
Strip Silence
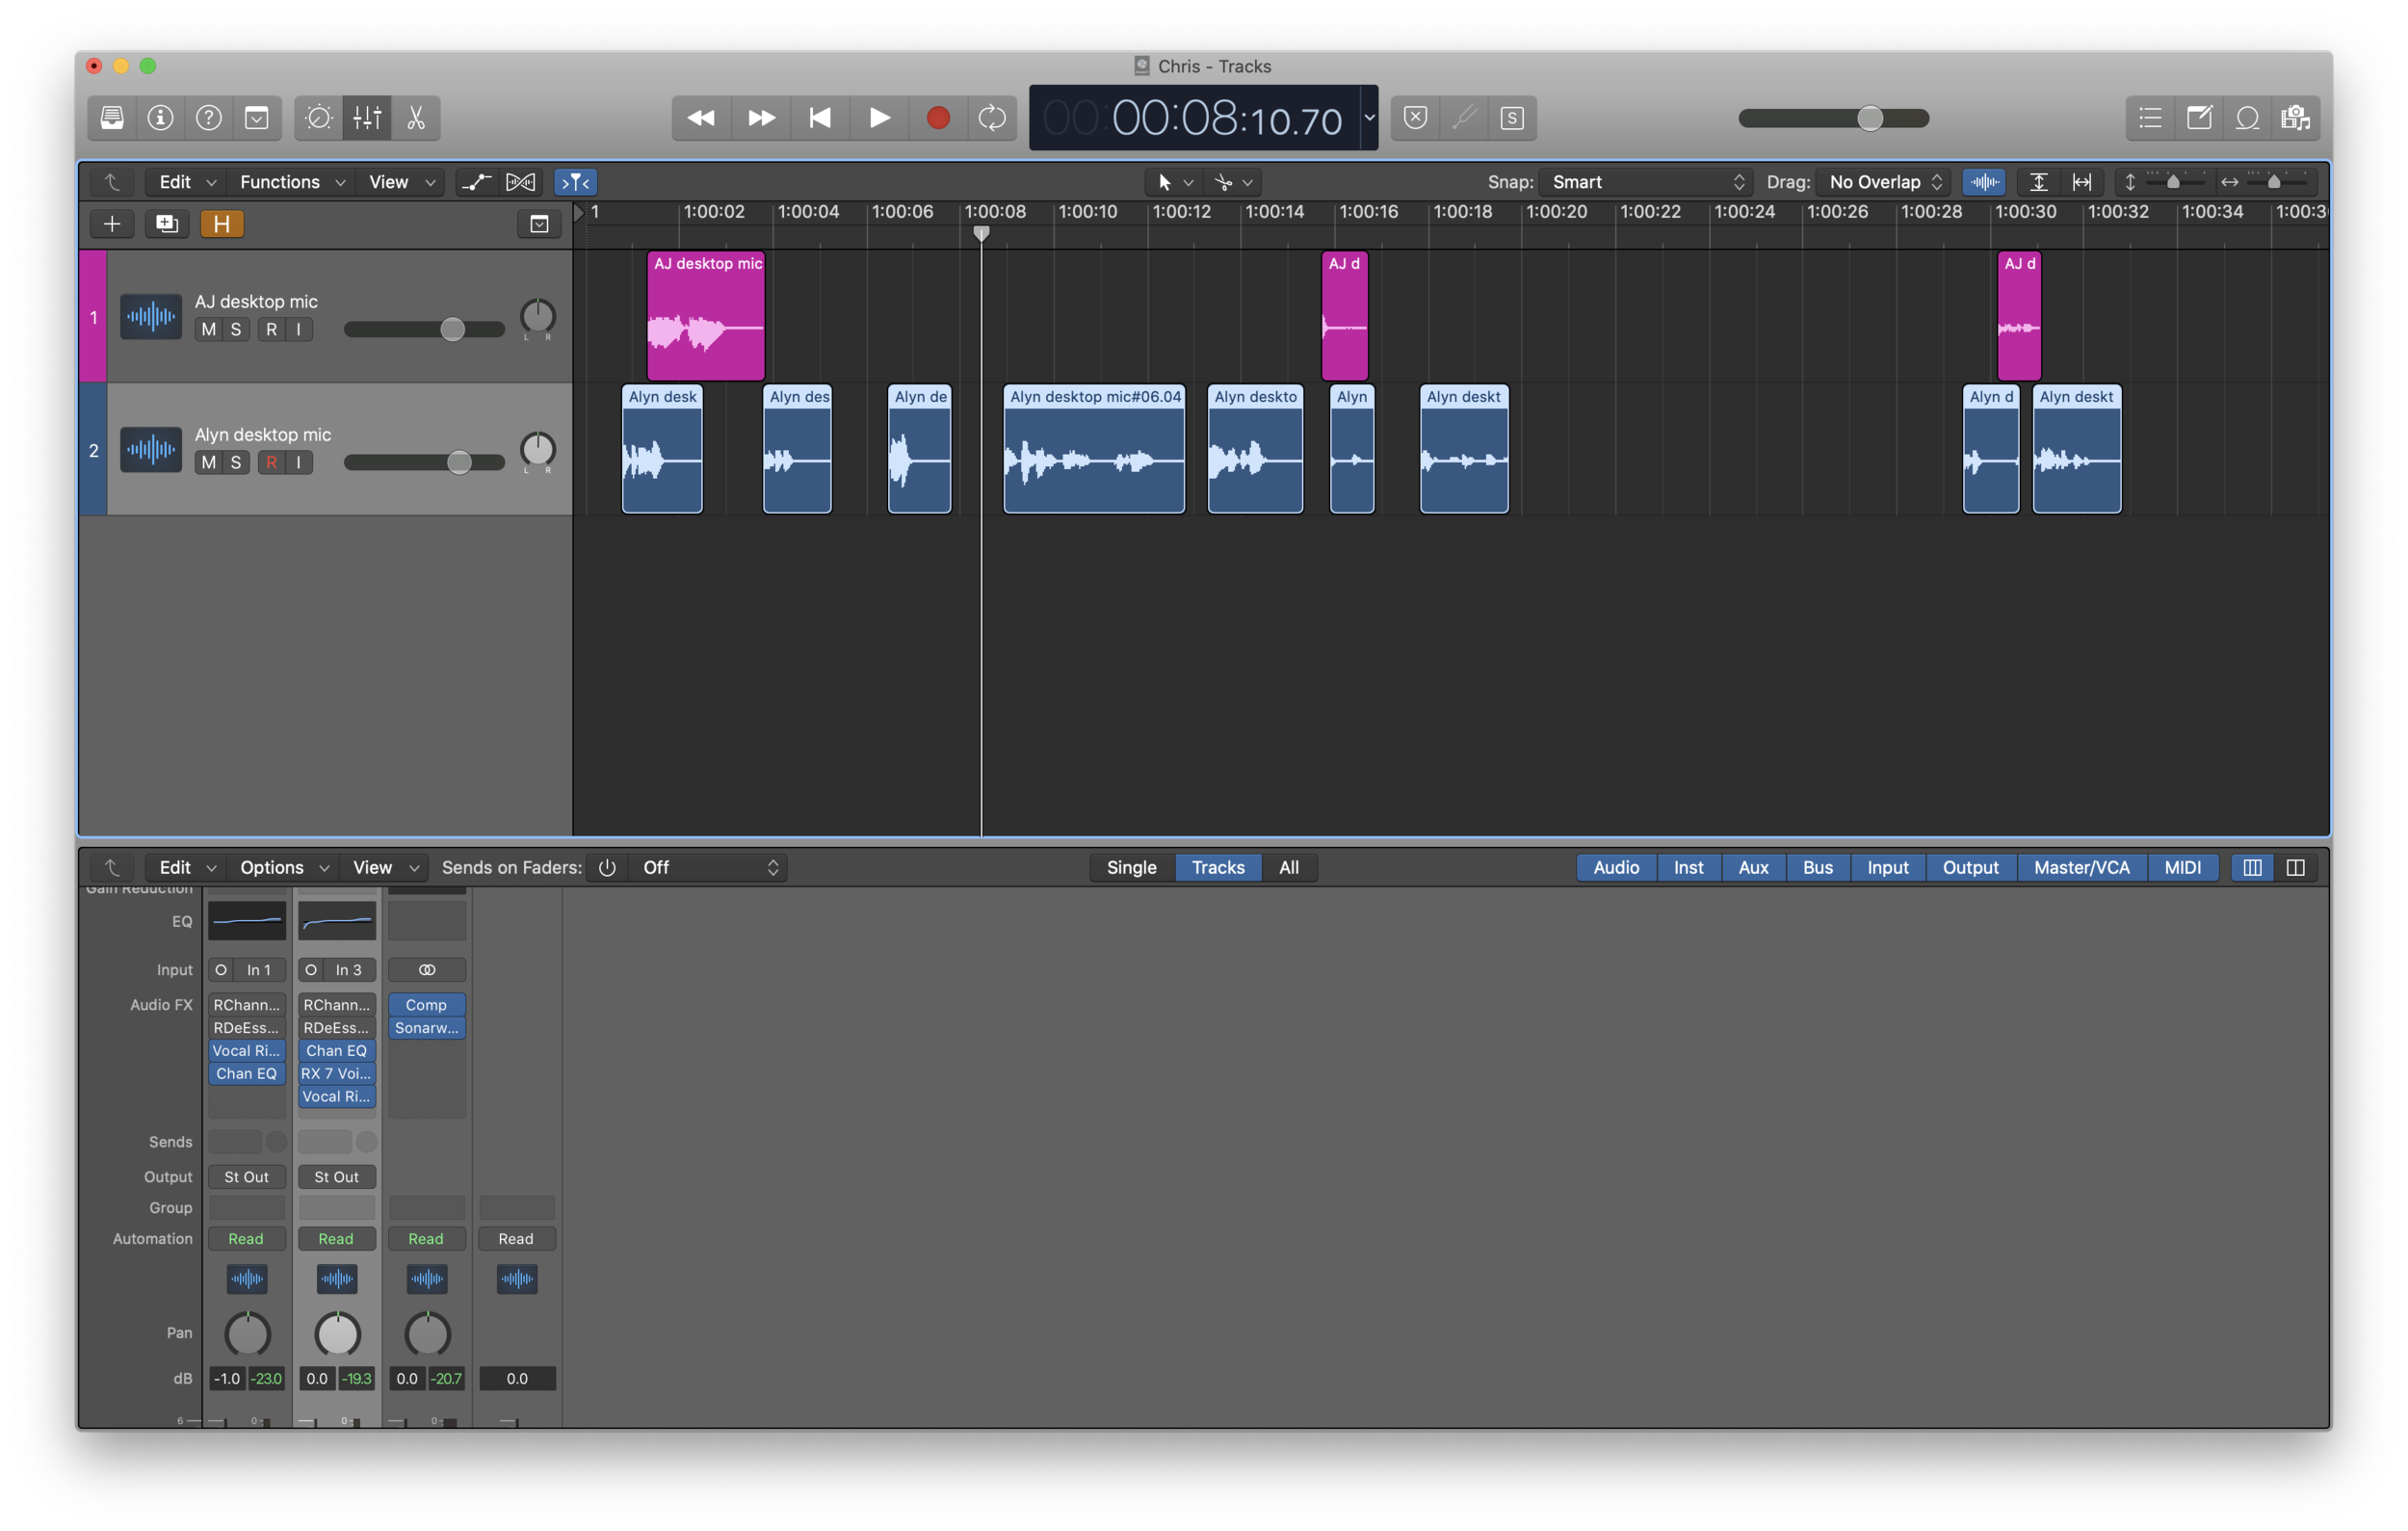
The first thing I do is run Strip Silence (CTRL-X). This does what it sounds like. It removes all the parts of the audio where AJ and I are not talking. I use the following settings on Strip Silence.

Threshold -34
Minimum time accept as silence: 0.9
Pre: 0.03
Post: 0.03
For some reason, Logic doesn’t save these settings between sessions which means I have to keep a note of my settings so things stay consistent each week.
Strip Silence makes editing video easier and cleaner - we have a pretty quiet studio setup so there’s not much background audio but when I get to editing in Final Cut Pro - seeing blank space on the audio wave form in the timeline makes it faster to edit out the bits we screwed up on!
Quick Clean Up
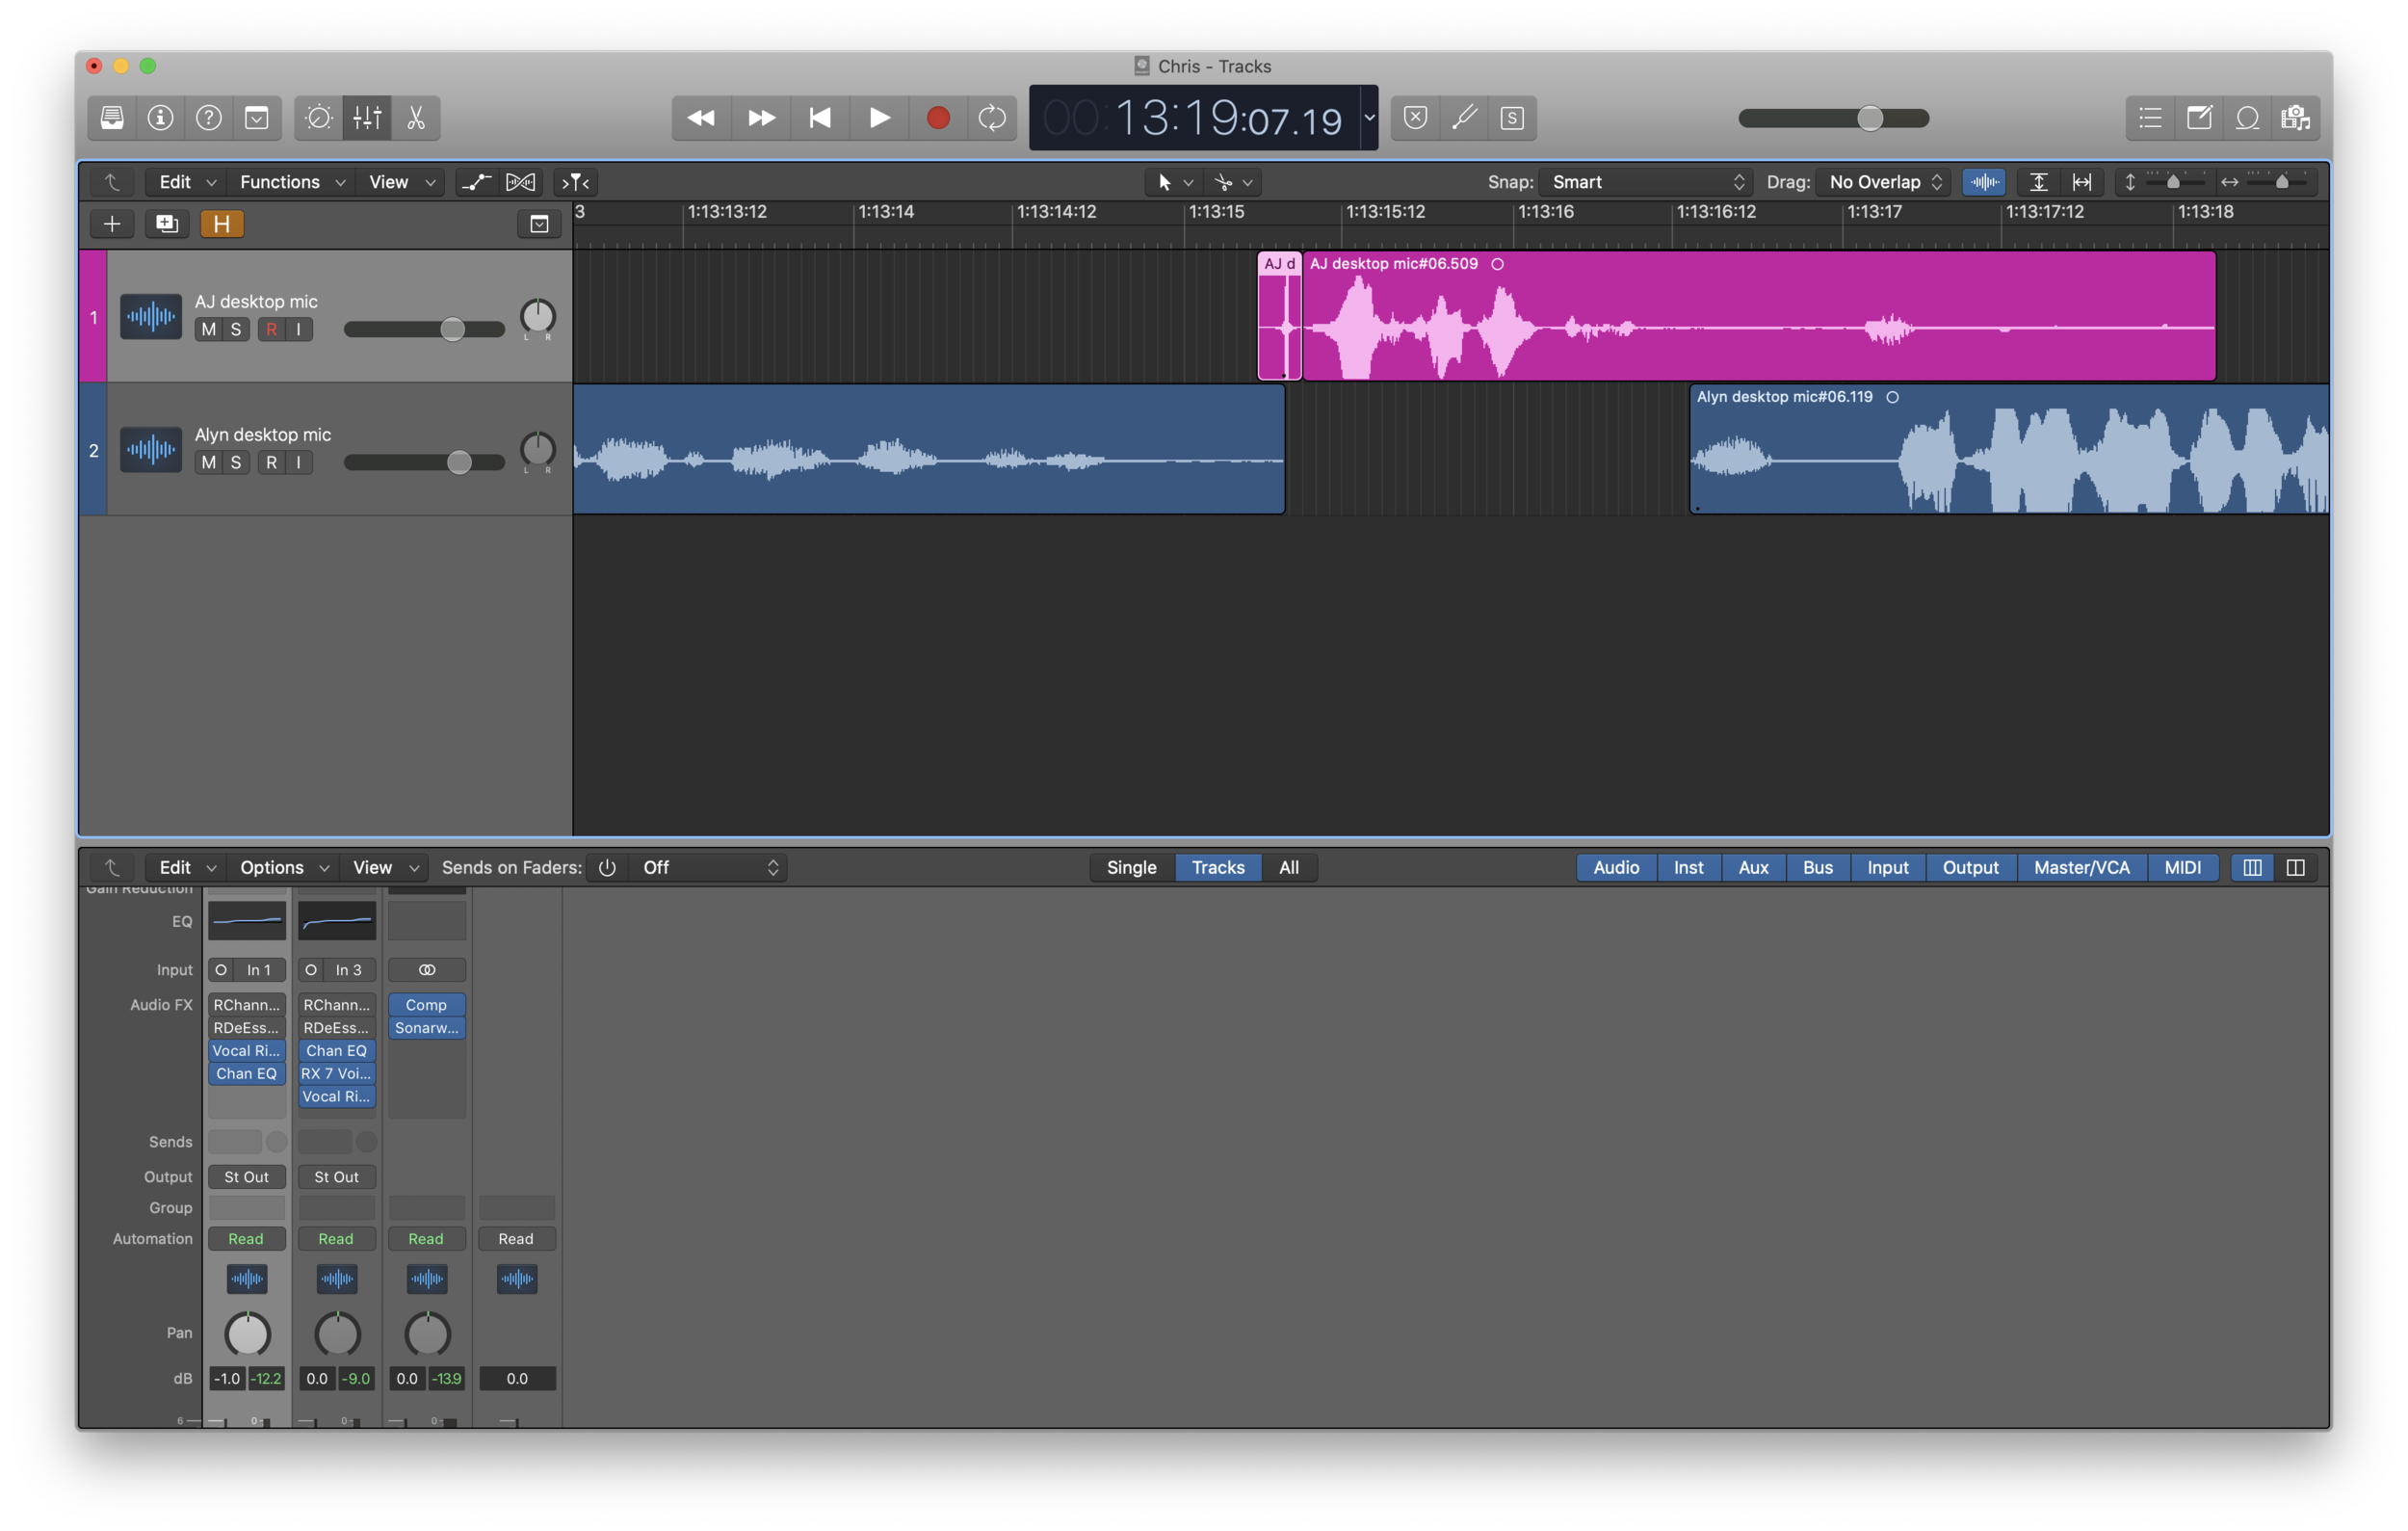
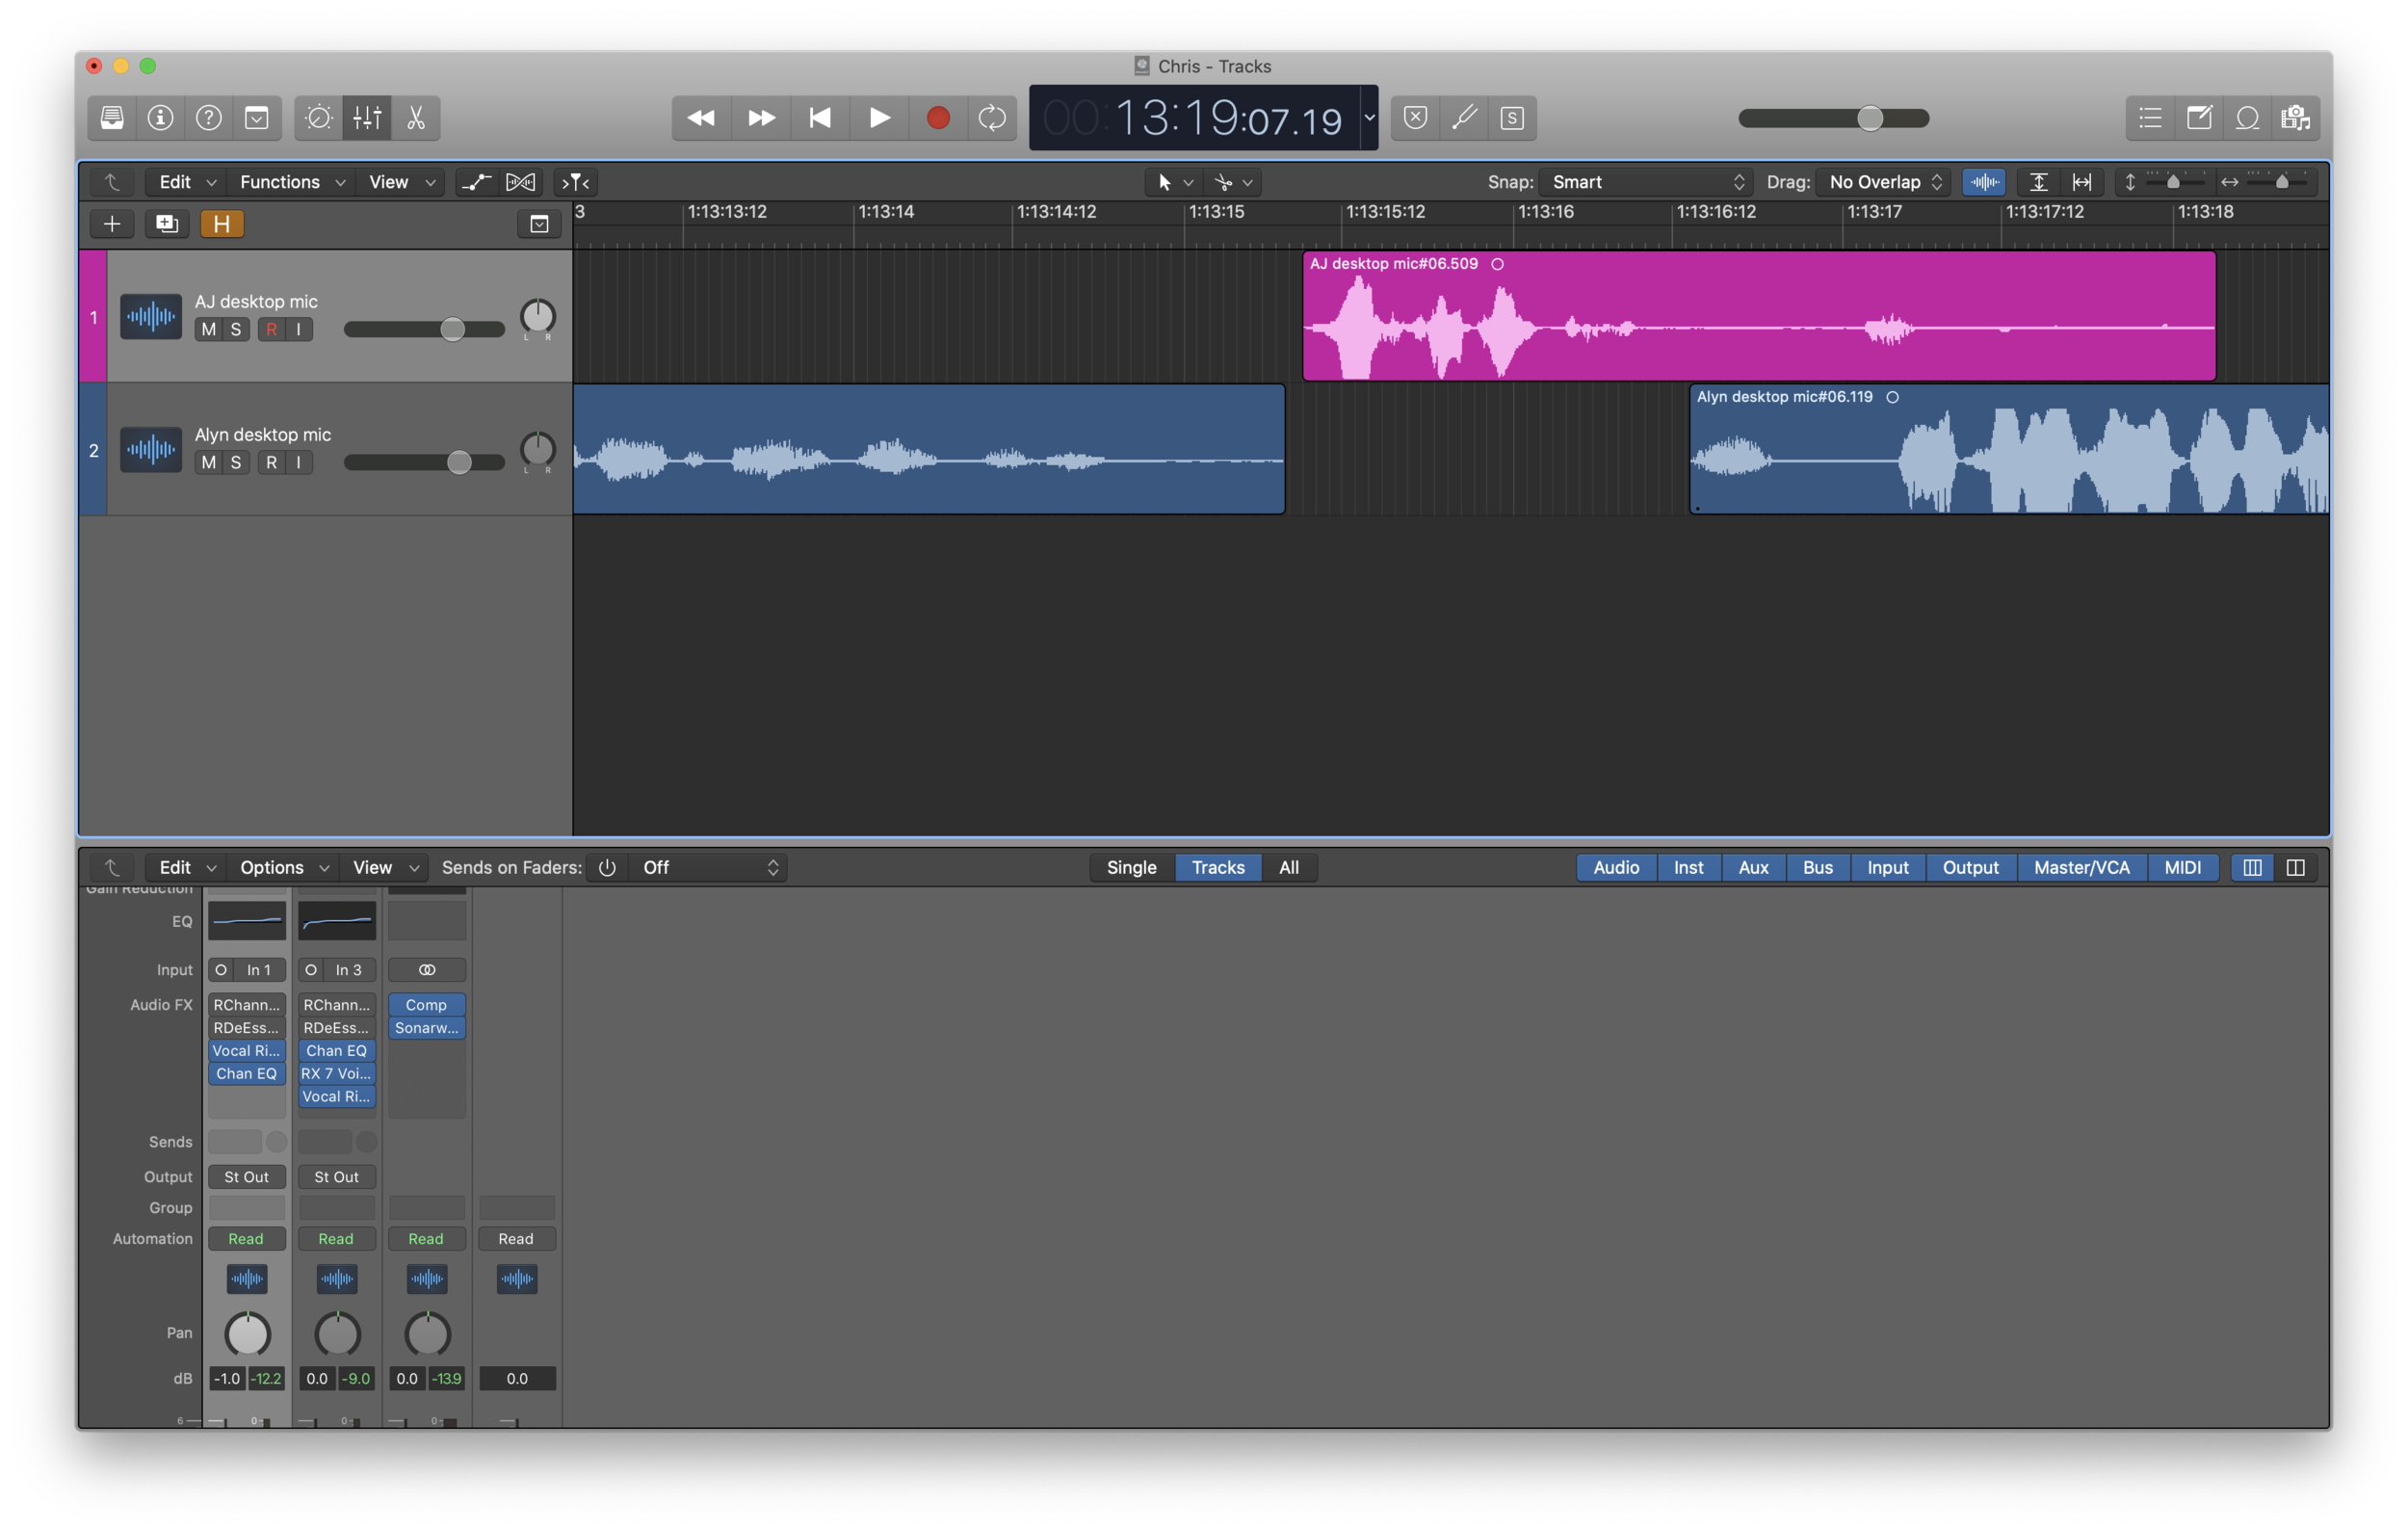
I then scrub through the timeline looking for little audio glitches that drive me nuts. These are usually just the “sttt” noises at the start of a sentence. I don’t always catch them all but it sounds much better when they are removed.
I set up Logic with two primary tools - pointer and scissors - I can switch between them using the CMD key (holding down CMD and click makes the pointer the scissors). Again I’m not editing not for content at this point. Just cleaning up the audio here, things like coughs, sniffs, offline conversations, kids walking in etc.
Exporting the Audio

Once that’s done, I bounce that audio out to be used as the audio for the video in Final Cut Pro.
Now onto Final Cut Pro

Next I open up Final Cut Pro and do a few things - first thing I do is create a new library for this week’s podcast and then import the video and audio into the library.
Making 3 Shots from 1
We shoot with one camera in 4k but we edit on a 1080p timeline. That means we can get several shots by cropping into the 4k frame at 1080p resolution. In order to make editing the timeline easy, I fake 2 new angles from the one shot coming from the camera. Here’s how I do that.

First, I duplicate the video I just imported and then open up the clip in the viewer. Then I create the shot that I want - usually scale it to 150% (if we framed things correctly) and drag the X position over and we end up with a shot that looks like this:

Then simply repeat the process (duplicate the original import, open up the shot and adjust so AJ is in frame) for AJ’s shot. Which looks something like this:

I now have three different shots all from the same clip: a wide shot (the original imported video), a close up of me and a close up of AJ. These make up the three shots of the video.
Syncing Audio
Now it’s time to sync up the audio I just exported from Logic to one of the clips. It doesn’t matter which clip I use given they are all identical, but to keep things simple, I use the wide shot to sync the audio with. Just CMD + click the audio and video you want to sync and then CTRL click to pull up the context menu and choose “Synchronize Clips…” Done.

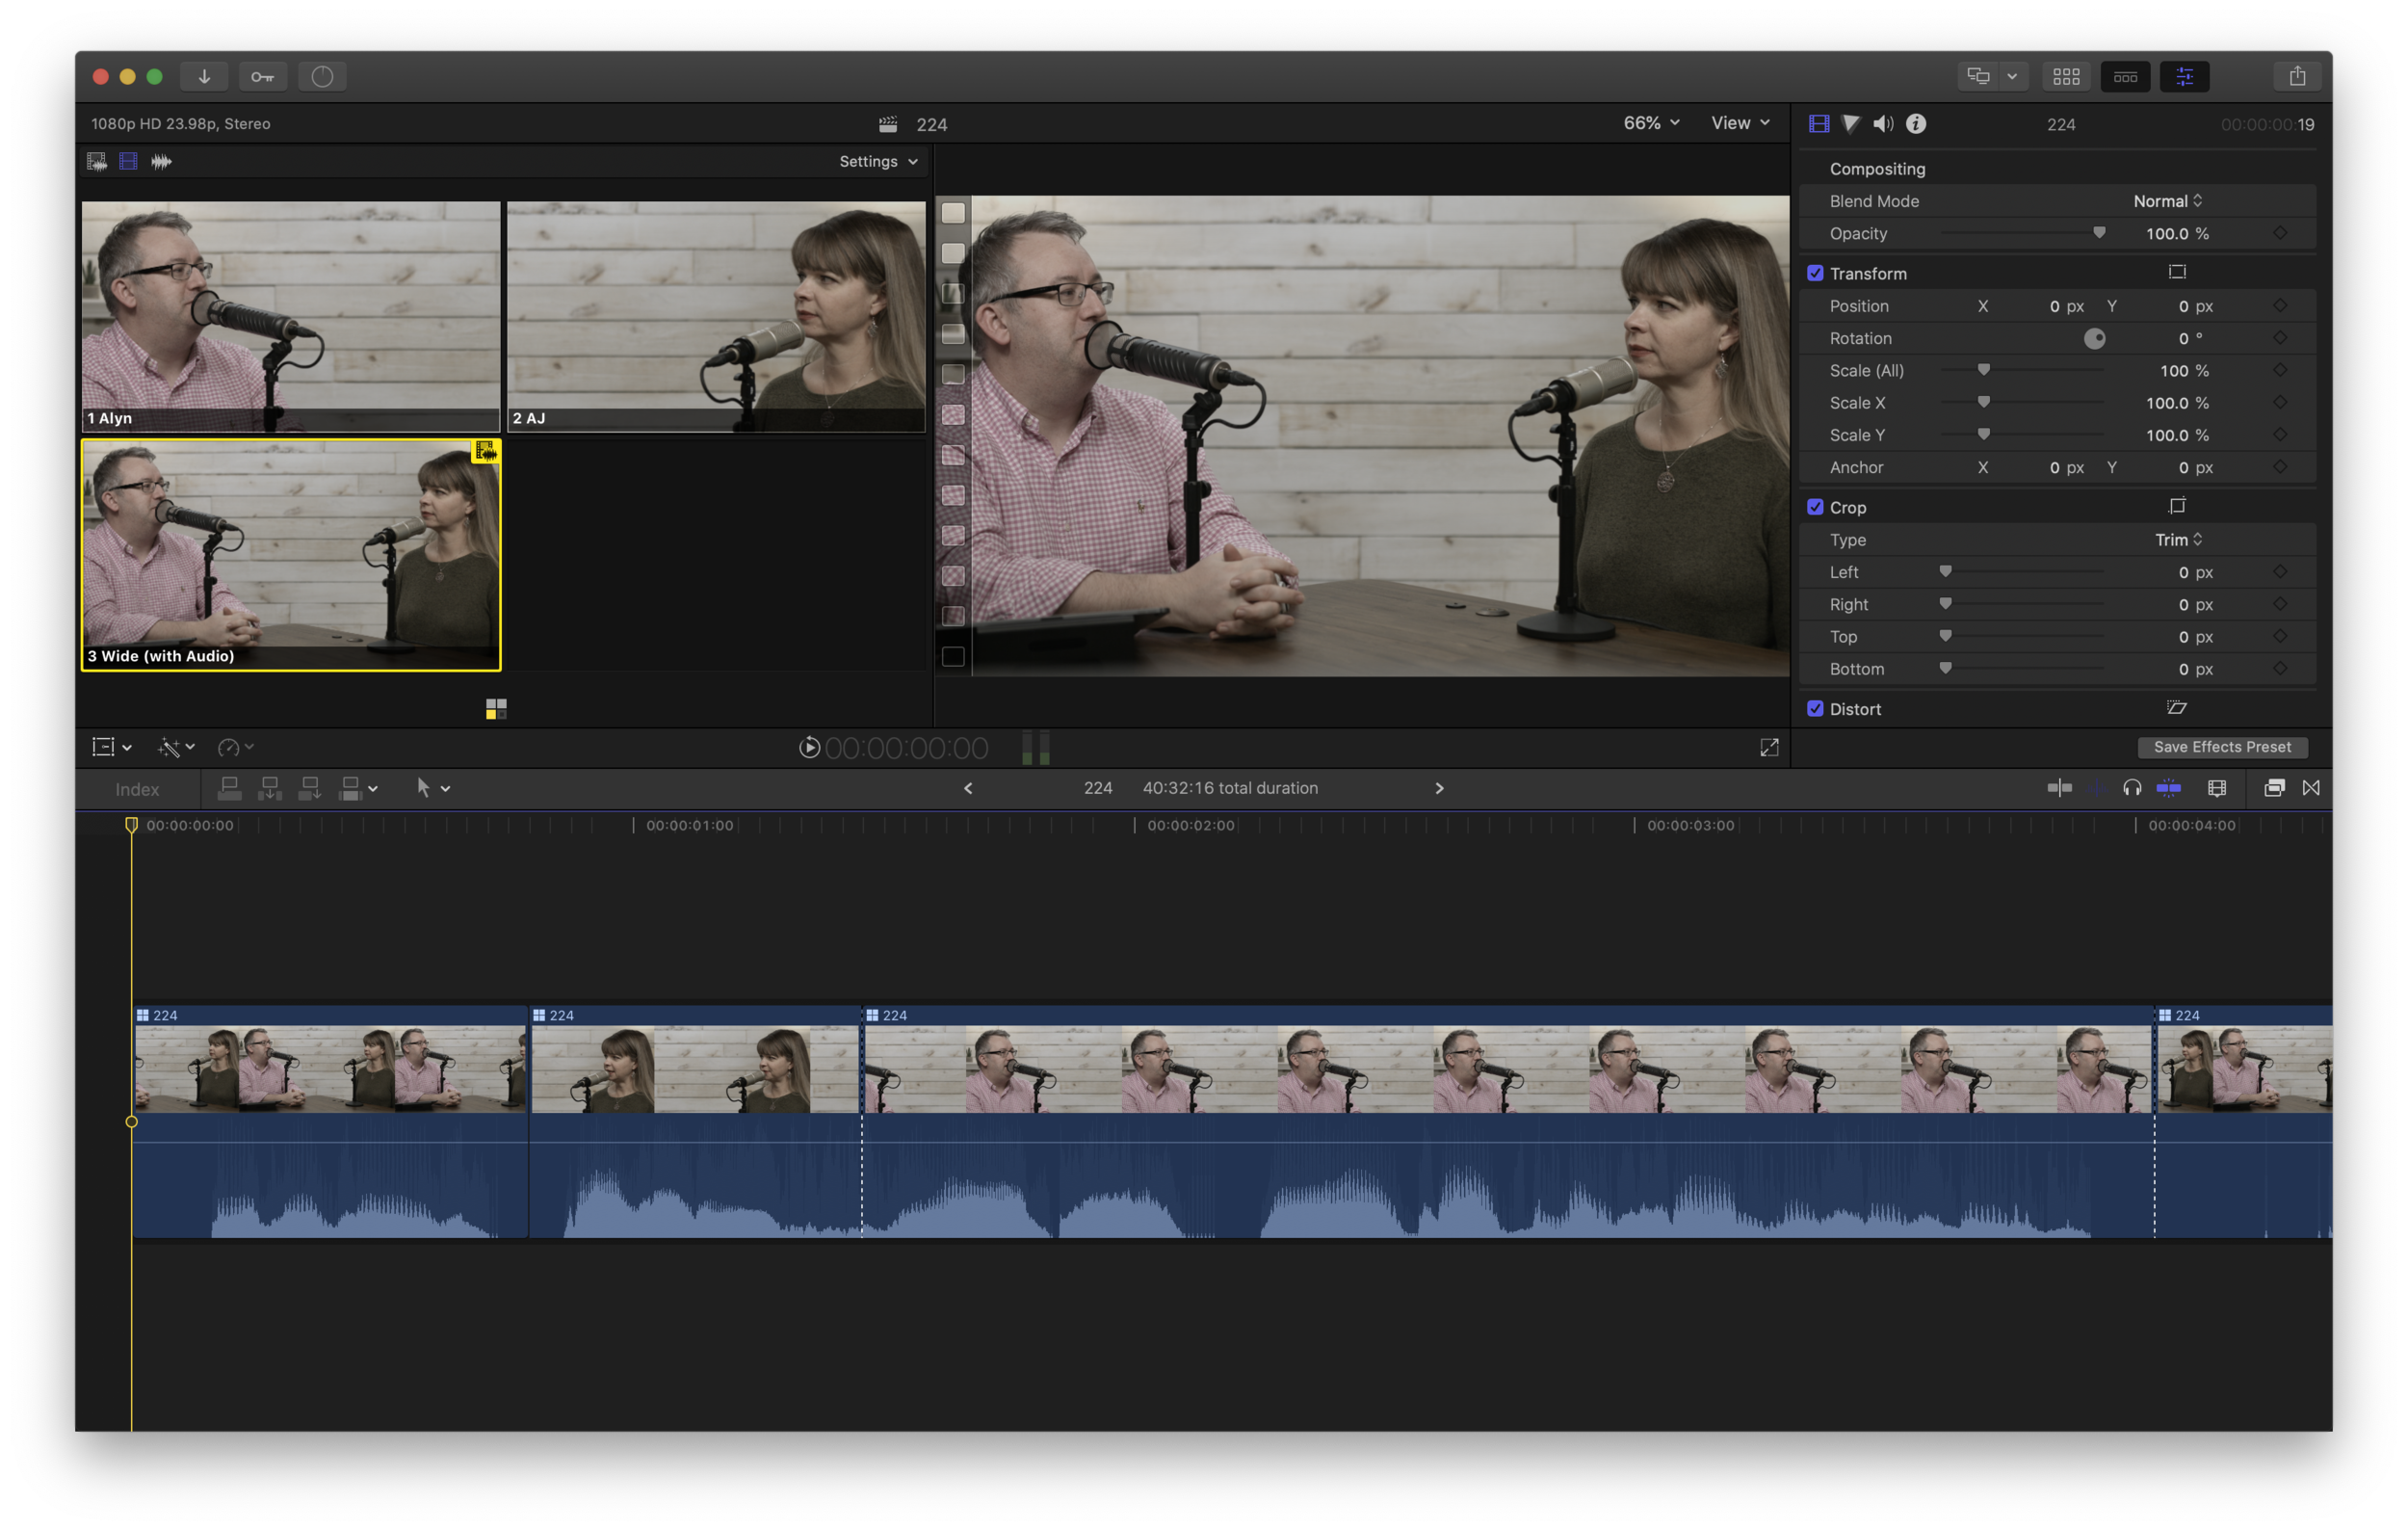
Recap: I now have three shots from the same source; a wide shot featuring AJ and I, a close up of me and a close up of AJ all with pristine audio that’s been exported from Logic. All I have to do now is edit the video. To make this super easy, I name the shots in the order my fingers remember. I do this: 1 Alyn, 2 AJ and 3 Wide because in my head I think of the song - “Alyn and AJ’s podcast for your Monday.”

Creating a Multicam Clip
Next, I create a Multicam clip of all three shots so that when I am editing, I can just need to press 1 to cut to close up of me, 2 to cut to close up of AJ or 3 to go to a wide shot of both of us. Note when creating a Multicam shot using cloned clips, you can’t rely on automatic settings. You have to go manual settings - make sure angle assembly is set to clips and set your video to match your timeline (in this case 1080p). That way you will end up with three camera angles. I’ve found that if I leave it set to automatic it creates a Multicam shot, but there’s only one angle - bummer).

Down to Editing
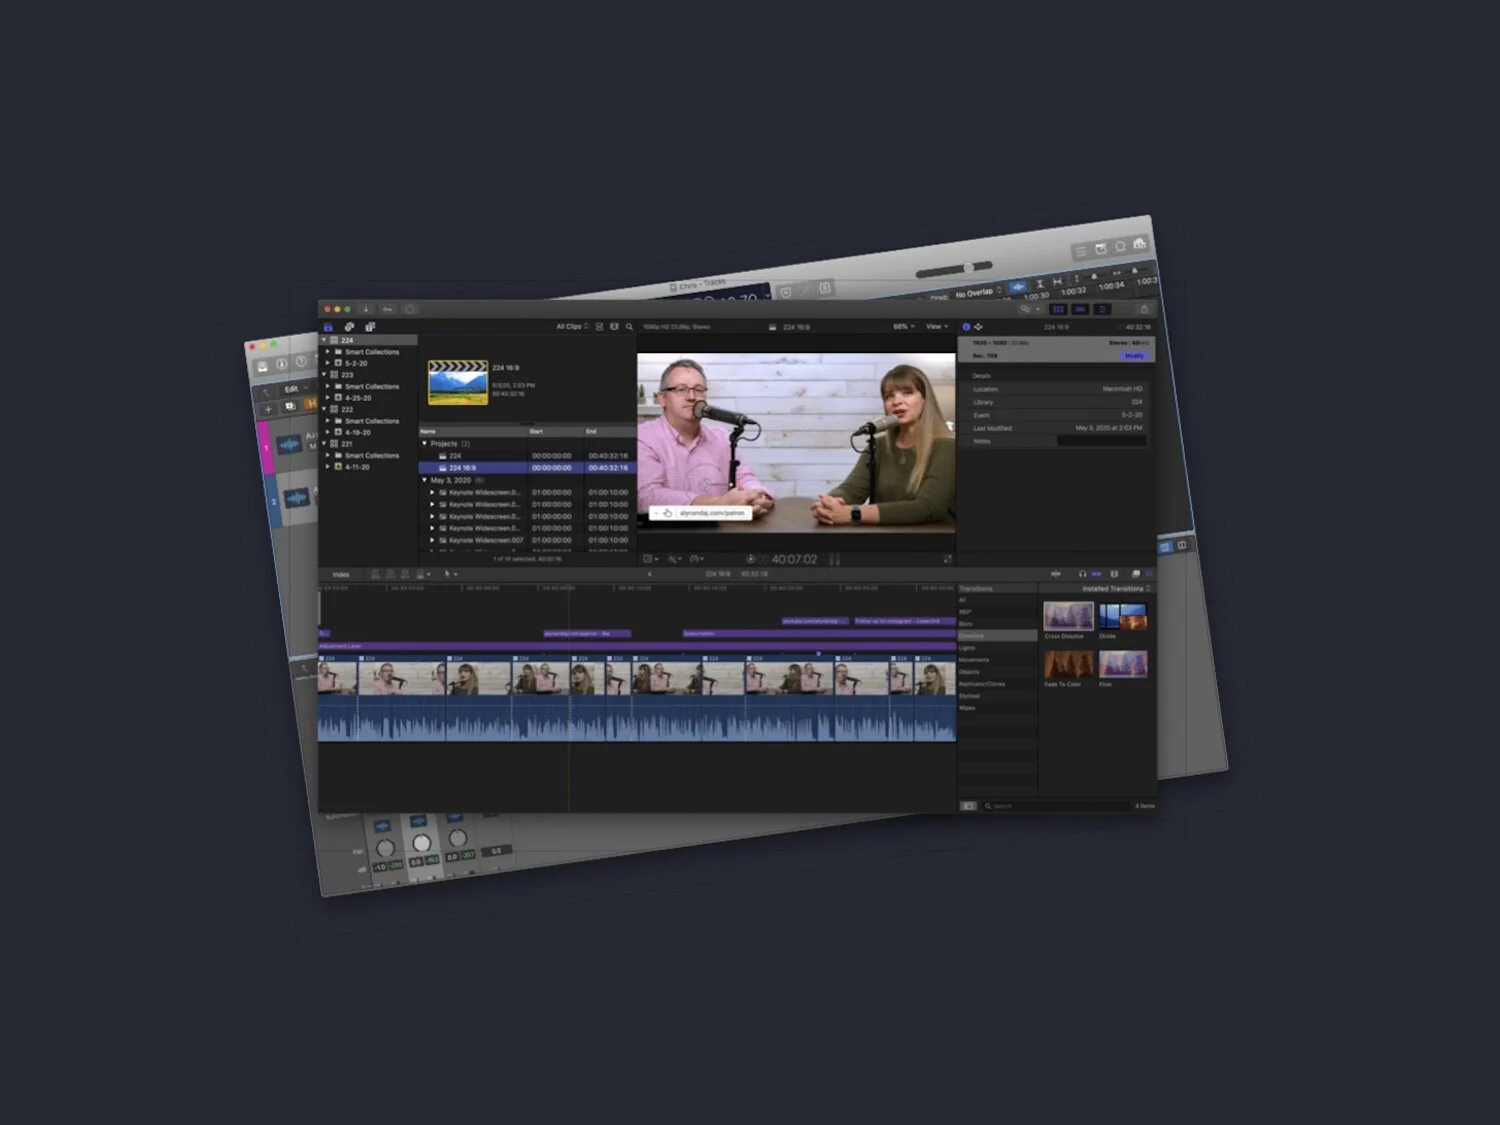
Okay so now the editing begins. First thing to do is create a new project (CMD + N). I tell it the specs I want (resolution, frame rate, etc). Next, I drag the Multicam clip on to the timeline and then tidy up my workspace. First, I get rid of the browser (CTRL CMD 1) because everything I need now is already on the timeline. Next, I bring up the Multicam view (CMD SHIFT 7) so I can see all three clips that I can switch between.

I also like to make the audio wave form the most prominent thing in my timeline as it’s easier to see where the dead spots are from Logic which speeds up my editing. Compare the timeline in the image above with the timeline in the image below:

With the audio waveform larger, it makes it way easier for me to see what I need to edit as I scrub through the timeline. For example, when I come across a gap like shown below, I know I can just cut it out because I already cleared it out in Logic Pro X.

Now I’m ready to edit. I just play the timeline and when I want to zoom in on me I press 1, when I want to zoom in on AJ when she’s talking I press 2 and when I want a wide shot, I hit 3. I can scrub pretty quickly through the timeline. My right hand on J, K and L keys, my left hand on 1, 2 and 3 keys.
I try not to let the horrible color of the shot bother me - color correction comes after the edit is done. As I watch the timeline and do my edit, I mark anything I need to add later with the M key - this could be things like lower thirds, images, links, things that are interesting. I keep a notepad beside me so that anytime one of us says, “I’ll put that in the show notes”, we remember to actually do so.
Color Correction
Once the cut is finished I move onto fixing the color. The easiest way to do this, is just use an adjustment layer, basically a transparent overlay that you can apply to the whole timeline and then color correct that layer. I find color correction the hardest thing ever. Obviously there’s some objective rules, but the subjectivity part is where I can go nuts. So I just use the same settings from the previous week to give a consistent look and feel. Have a look at the before and after shots.

Other Stuff
All that’s left to add is the screen graphics. These are usually just copied from the previous week’s edit so this part is fast - especially because I used markers earlier to tag on the timeline where they will be needed. I can skip between the markers using CMD + ’ and paste in the lower thirds that I need.

I then render out an H.264 version for uploading and a ProRes version for archiving and I’m done with this edit.
Making an Instagram Stories Version
To make the Instagram version I take the original project and just duplicate it - I then name this one Title 16:9 (which of course is a mistake, it should’ve been called 9:16 to actually reflect, you know, the proper aspect ratio 🤦♂️). Then I click on Modify in the Inspector and change the video frame size to custom. The resolution I want is 608 x 1080 (aka 9:16). This gives me the tall up and down frame of a portrait video that IGTV supports (note: I could just leave it in 16:9 and ask users to tip their phone sideways, but I wouldn’t want to do that as a user, so I’m not going to make my viewers do that).

Because the video was originally shot wide screen, we need to do some quick editing to make it look good in the new up and down format. But first, consider what we had originally: we had three shots. A close up of me, a close up of AJ and a wide shot of both of us. Clearly we can’t use the wide shot on a vertical frame - so now we need to switch to only using two shots - a close up of me and a close up of AJ. But again, we can’t use the close ups as they are because they look like this.
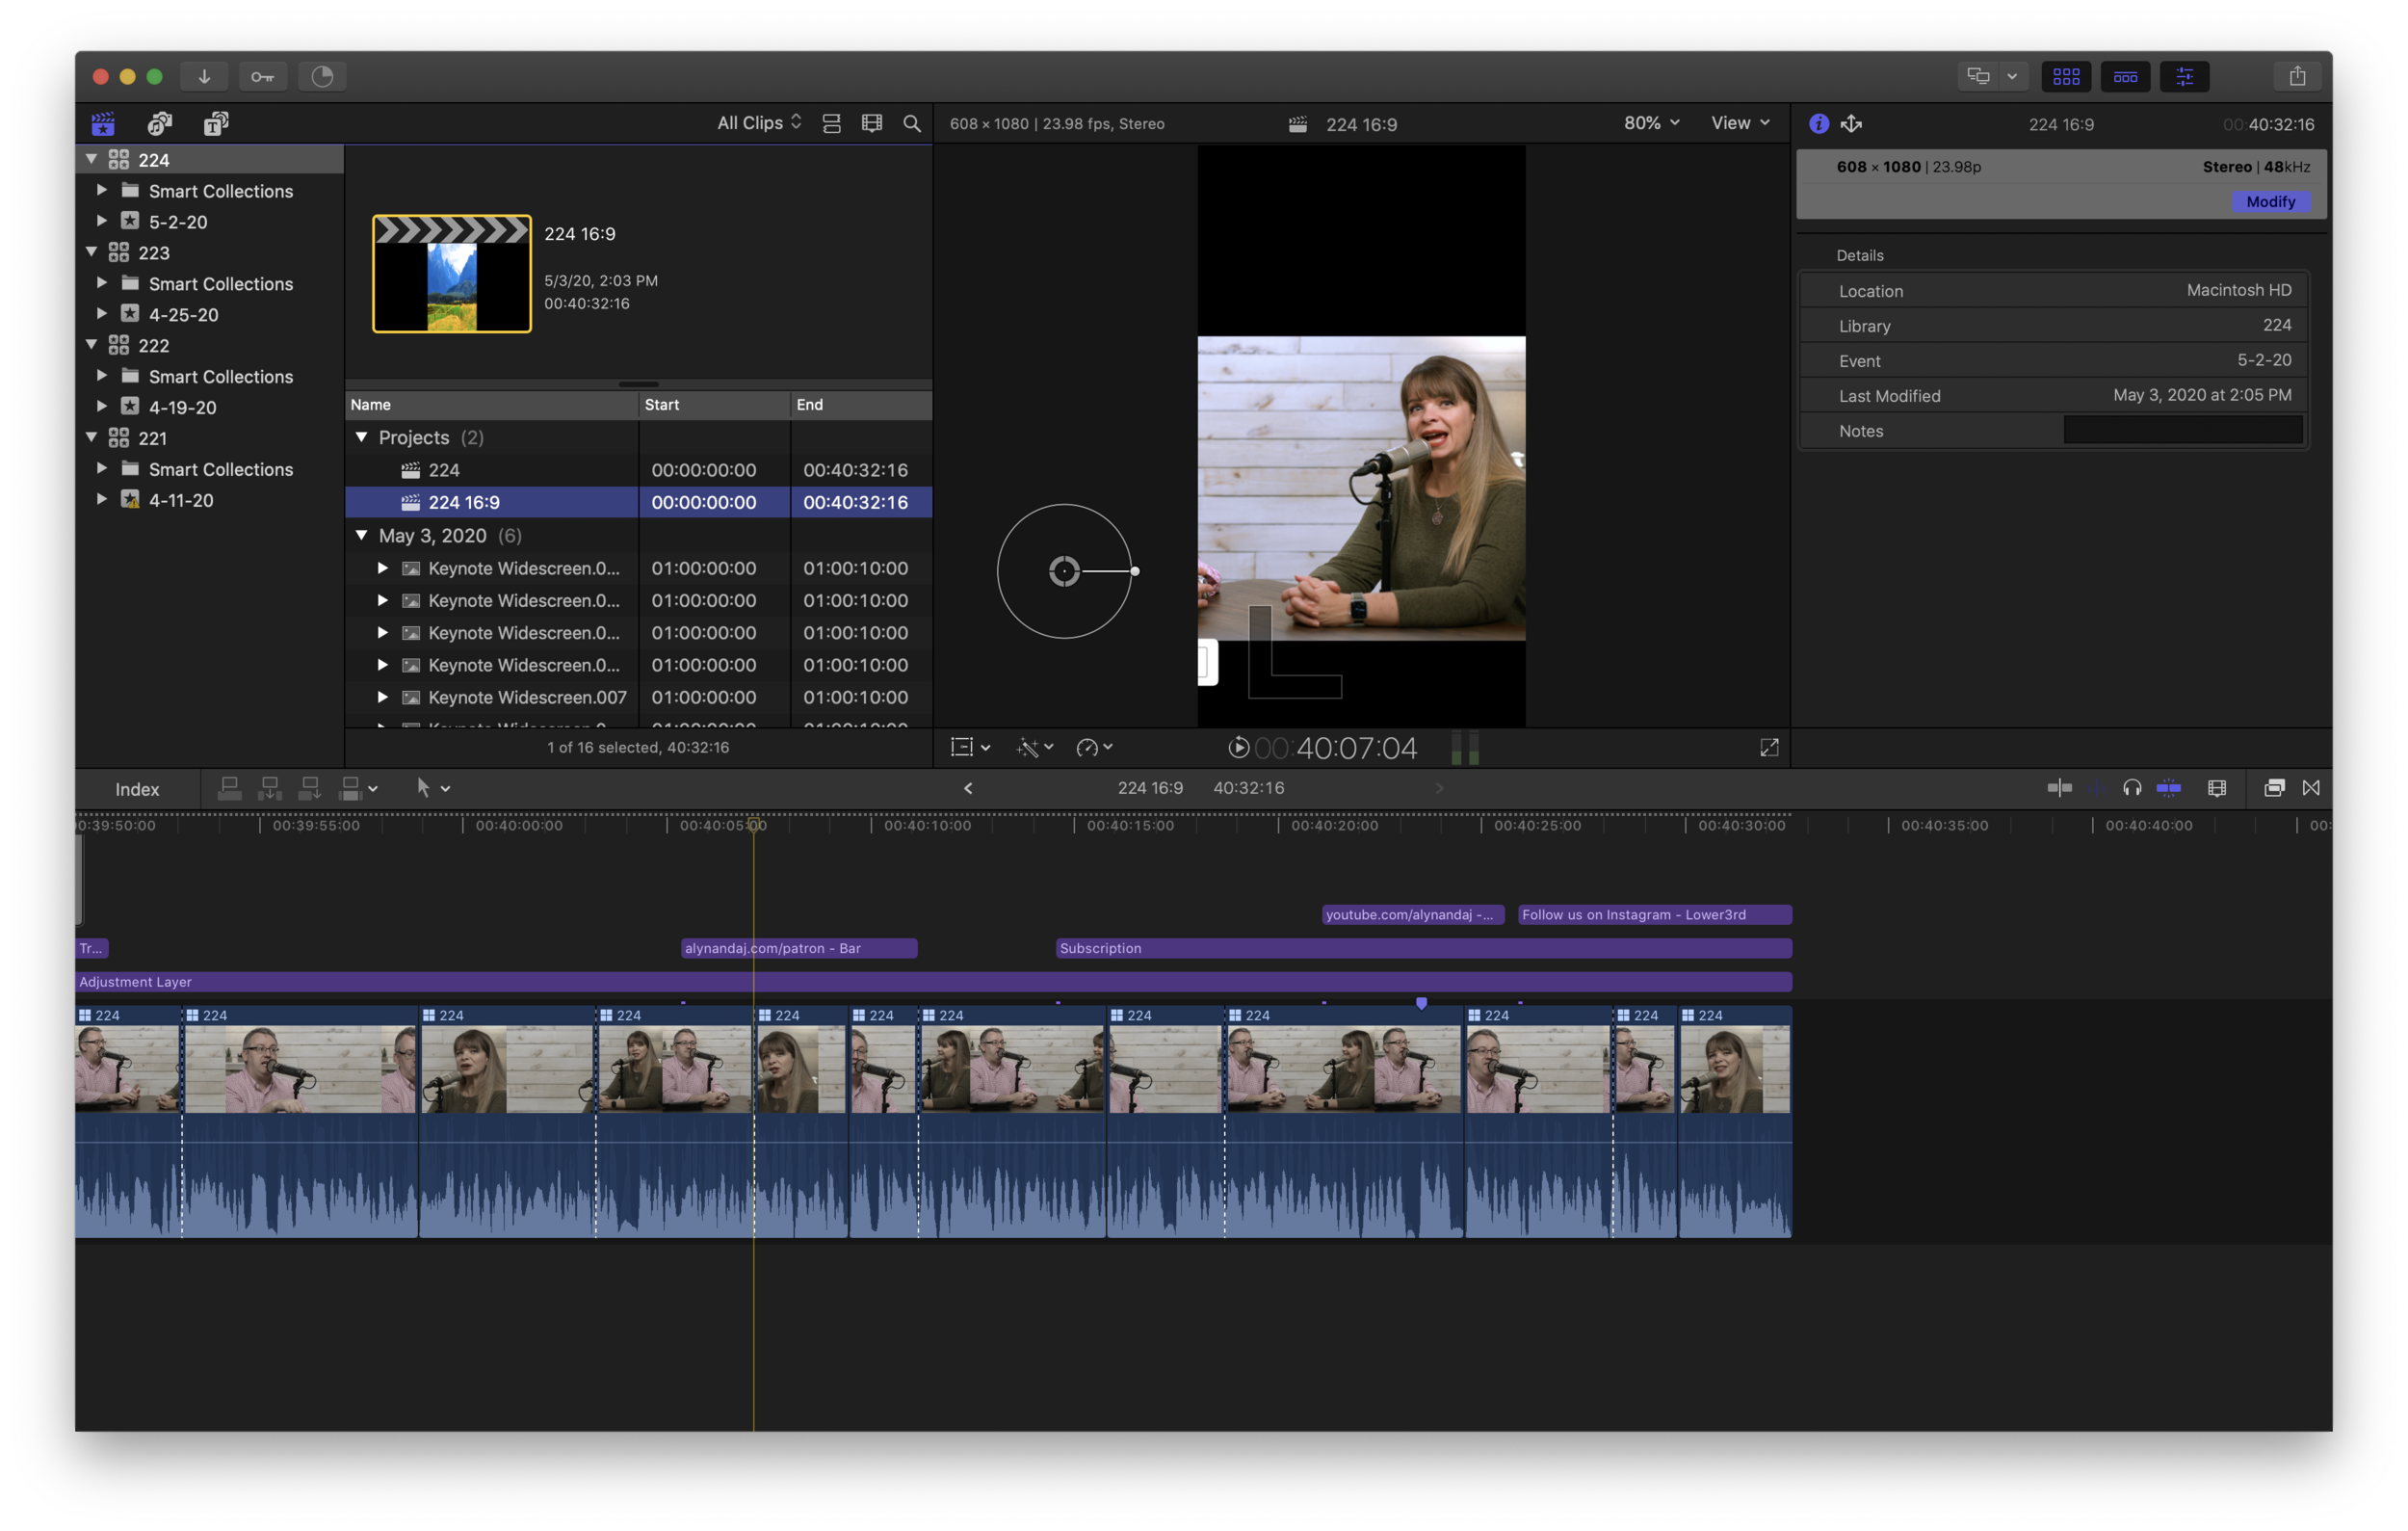
Surely we’re not going to through and change every shot by hand to a new angle or framing? Nope. We are going to cheat. Here’s how. First, we are going to set every shot to the same angle by selecting all the camera shots on the timeline (CMD+A won’t work here because that will also select all the graphics, so I just shrink the timeline and drag with my cursor to select all the video shots).

Then in the inspector, we are going to change all the shots to one angle - you do this by using the Active Video Angle pull down menu. In the image above it’s set as Mixed Values, I’m going to pick 1 Alyn as shown below:

Of course that still doesn’t look right, so we have two more changes to make. I go to the video inspector screen and scroll to the bottom of the inspector and look for Spatial Confirm. Change the type from Fit to Fill.

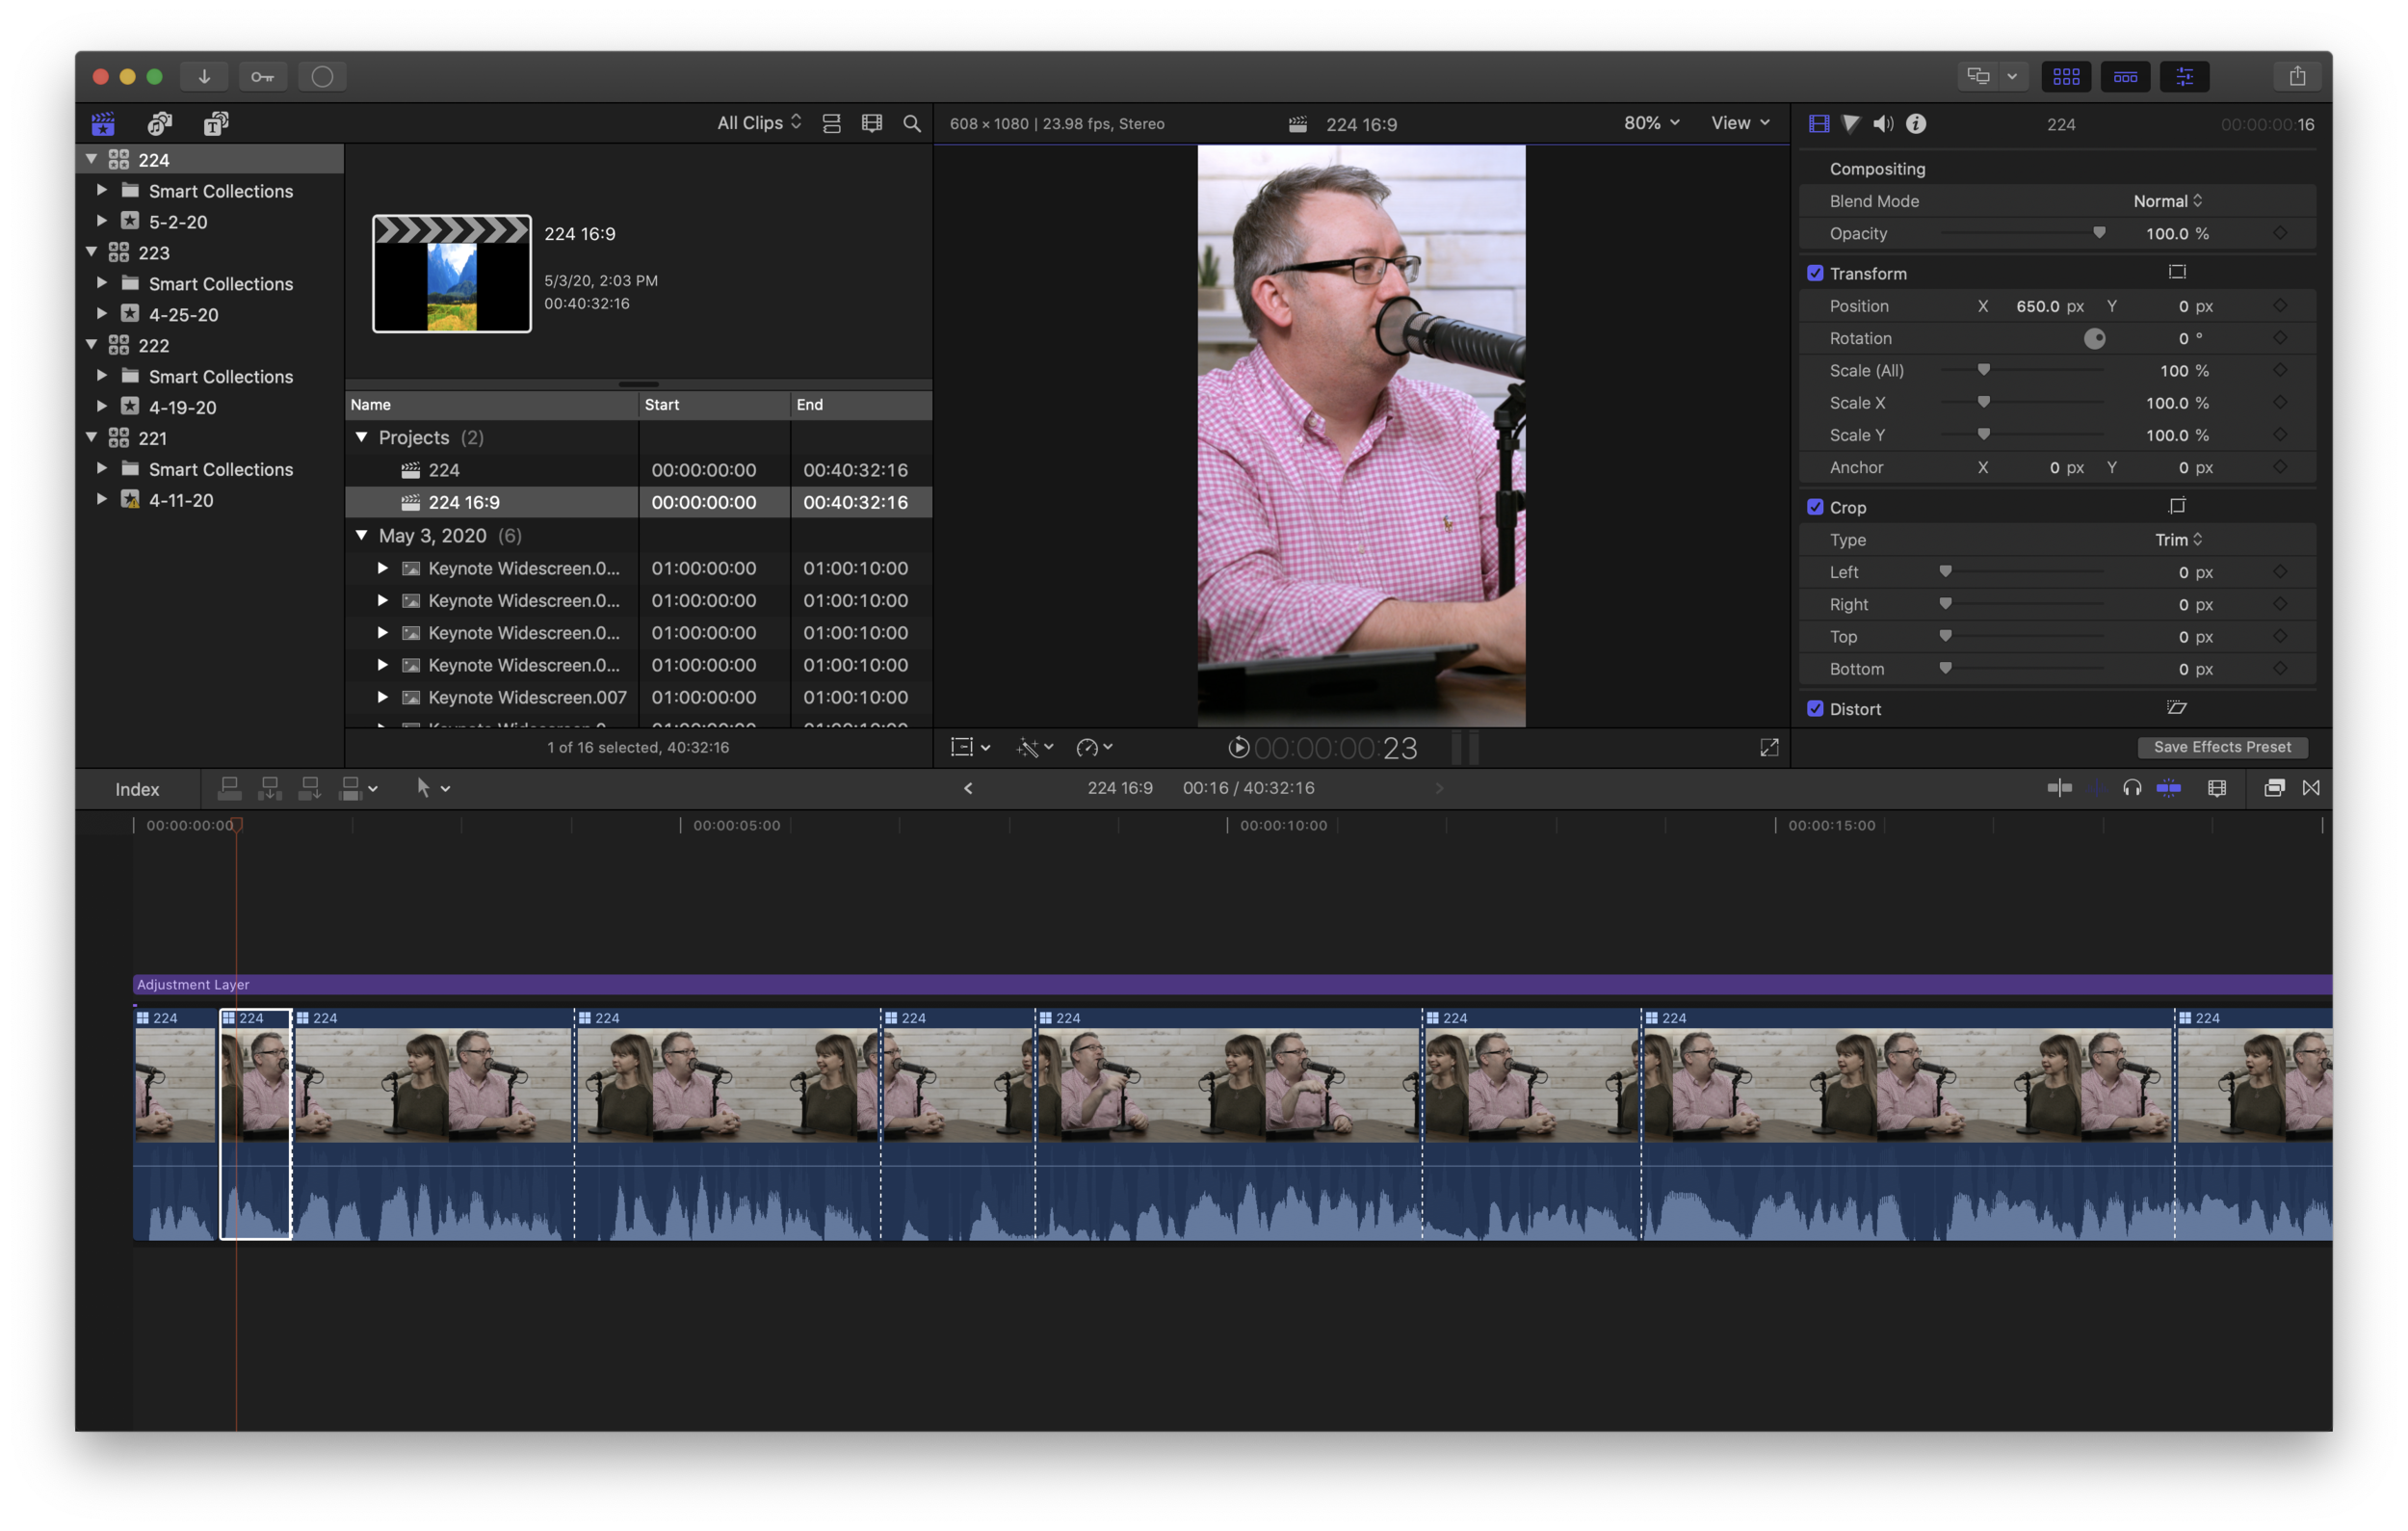
Now the picture fills the whole frame, but as the picture above shows, it’s not great!. Because we don’t just want to see the shot of my knuckles, I’ll change the X position to ensure all of me fits in the frame like shown below - be patient because it’s not just changing the X position of the frame in shot, it’s changing every single frame. Depending on where I put my chair 650 px works well for me.

Now every cut of this timeline is set to me - glorious! But what about when AJ speaks? Here’s what I do, I just scrub through the timeline until the first time AJ speaks which is here. Still looks like me. So what I do, is with that shot highlighted, I drag the X position over to where she is framed like so (-650px)


Now I copy the settings of AJ’s newly framed clip by holding down CMD+C and scrub through the timeline. Every time I come across a time that AJ is speaking, I paste those settings (or attributes) by holding down CMD + SHIFT +V and hit enter - faster than you can say, “this is magic” the shot changes to AJ. This goes far faster than you might imagine.
But what about the shots that were originally the wide shot? I usually switch to those when there’s back and forth between me and AJ, but because we can’t use them now, I have to add extra cuts - still no problem, I just CMD + B to get a new cut and then CMD + SHIFT + V to make it cut to AJ. Also, I don’t have to rewatch the whole timeline, I can just hit the down arrow to jump to the next cut to see if changes need to be made to the angle (handy for later in the podcast when it tends to be more of a monologue from whoever is speaking).
Finishing the Audio Podcast
Once the cut is finished on both videos (I wait until the second video is finished incase I hear something I want to change in the audio that I missed from the first cut) I export the audio track from Final Cut. This then gets imported back into Logic Pro X where I add in the opening and closing jingles.

Once the jingles are lined up, I bounce to WAV file, making sure I turn off the compressor (‘cause it was already compressed before it went to Final Cut Pro).

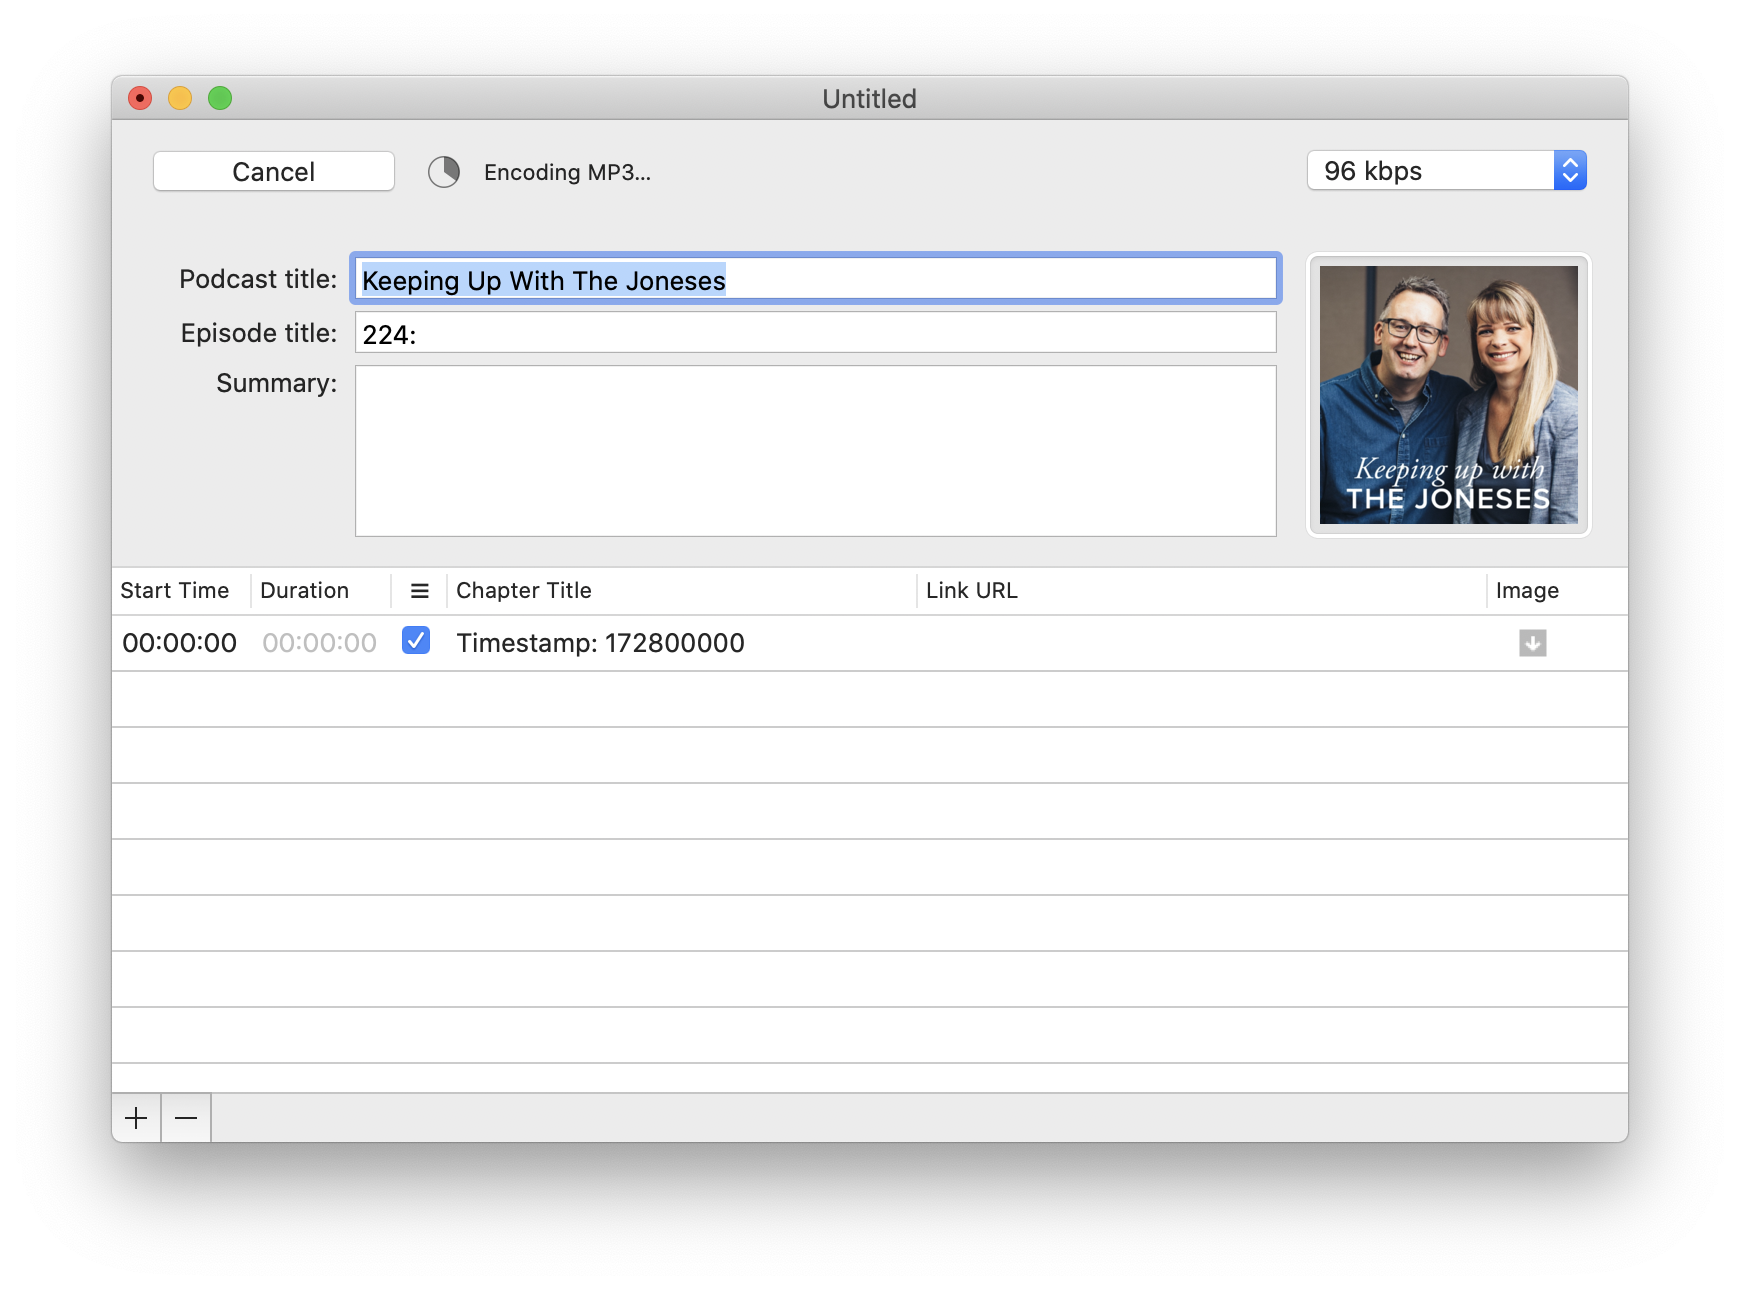
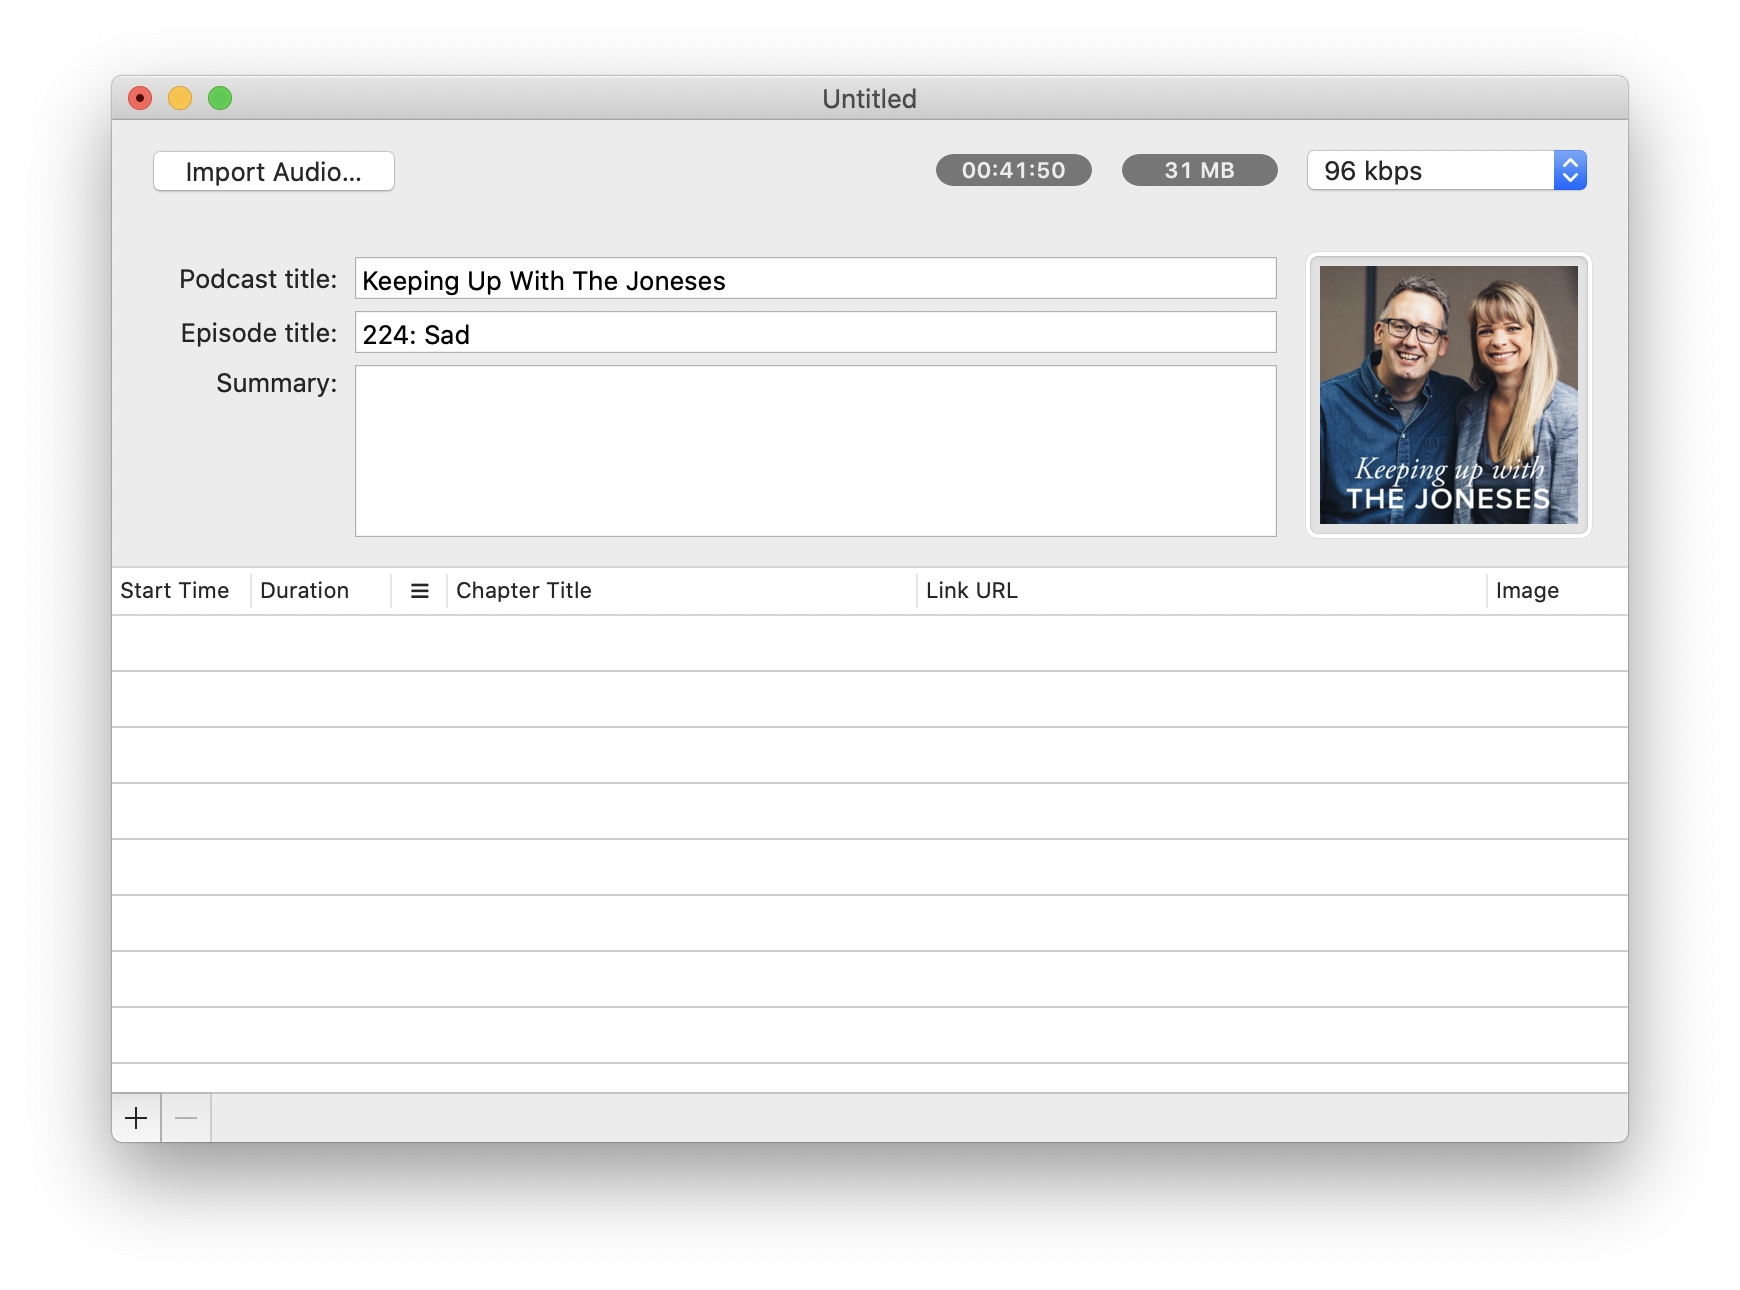
Then I fire up Marco Arment’s excellent podcast encoder Forecast and drag the high quality AIFF file into Marco’s app. Because I named the file consistently, it automatically adds the artwork, fills in the podcast name and all that’s left for me to add is subject and chapter headings (which I’ve stopped doing recently) and by the time I’ve done that, Forecast will have a nice MP3 ready for me to distribute to podcast clients around the world.